Hanko Frontend Integration Guide:About Hanko:Hanko is a modern open source authentication solution and the fastest way you integrate passkeys, 2FA, SSO, and more—with full control over your data. Move between self-hosted and Hanko Cloud anytime. No lock-in. Just Auth how it should be: secure, user friendly, and fully yours.What This Guide Covers: This guide demonstrates how to integrate Hanko authentication into your frontend application. You’ll implement user authentication, profile management, route protection, and logout functionality with Hanko Elements web components.Key Technologies:
- Modern frontend framework with TypeScript support
- Build tools and development environment
- Client-side routing and navigation
- Hanko Elements web components
- Hanko SDK for authentication logic
- Node.js installed on your system
- Basic knowledge of your chosen frontend framework
- A Hanko Cloud account (sign up at cloud.hanko.io)
- Set up your frontend application with the appropriate build tools
- Install and configure Hanko Elements
- Create a Hanko project in the cloud console
- Implement authentication components (HankoAuth, HankoProfile)
- Set up routing and navigation
- Add logout functionality
- Implement protected routes with session validation
- Retrieve and display user data
- Customize component styling and behavior
Create a Vue application
Run the following command to create a new Vue application with vite:Install @teamhanko/hanko-elements
Install hanko-elements to access the pre-built hanko-auth and hanko-profile components.
Also install vue-router to handle routing and navigation.
Set up your Hanko project
Go to the Hanko Console and create a project for this application.During creation make sure to input the URL you will be developing on as the
(Most likely http://localhost:5173/)
APP URL.(Most likely http://localhost:5173/)
Add the Hanko API URL
Retrieve your API URL from the Hanko Console, and paste this in a.env file.
.env
If you are self-hosting you need to provide the URL of your running Hanko backend.
Configure component resolution
Vue needs to know which elements to treat as custom elements, otherwise it will issue a warning regarding component resolution. To do so, provide a predicate function that determines which elements are to be considered custom elements tocompilerOptions.isCustomElement
in your configuration.To do this update your
vite.config.js file to:
src/vite.config.js
Set up TS support for Vue components
TypeScript doesn’t understand .vue files by default, which can cause IDE errors or issues during development. To fix this we will create a new fileshims-vue.d.ts in our src/ directory.
Add the following content to make TS understand .vue files:
src/shims-vue.d.ts
Create Hanko components
Create a folder calledcomponents and create two in it, HankoAuth.vue and HankoProfile.vue.
Hanko Auth
Set up theHankoAuth.vue file to create a functioning login component.
Here we subscribe to the onSessionCreated event, this triggers when a user successfully logs in. You can use these event to perform any desired action (e.g. redirect to your dashboard).
For more information please refer to the Auth component page.
src/components/HankoAuth.vue
Hanko Profile
Set up theHankoProfile.vue file to create an interface where users can manage their email addresses and credentials.
For more information please refer to the Profile component page.
src/components/HankoProfile.vue
Set up routes and views
To route our app we will use theRouterView component from the vue-router.
First let’s set up our views which will be used by the router.
Create Views
Create two files,HomeView.vue and DashboardView.vue in a new directory /views.
These Views will be the content that will be shown on a page.Setup your views like this:
src/views/HomeView.vue
src/views/DashboardView.vue
Set up router
Create a fileindex.ts in a new directory /router.
In here we can set up the vue-router just like this:
router/index.ts
<RouterView> component to your App.vue file like this:
src/App.vue
main.ts just like this:
src/main.ts
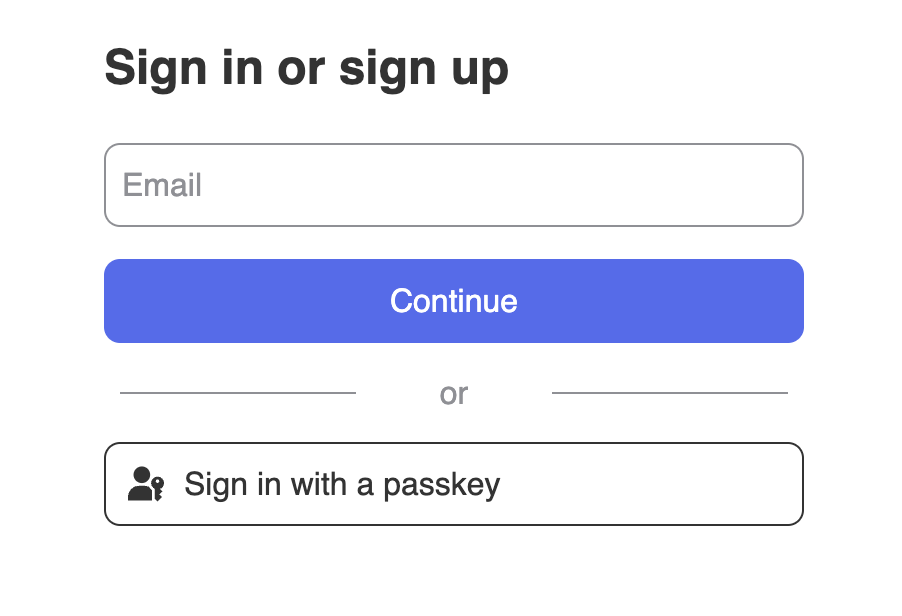
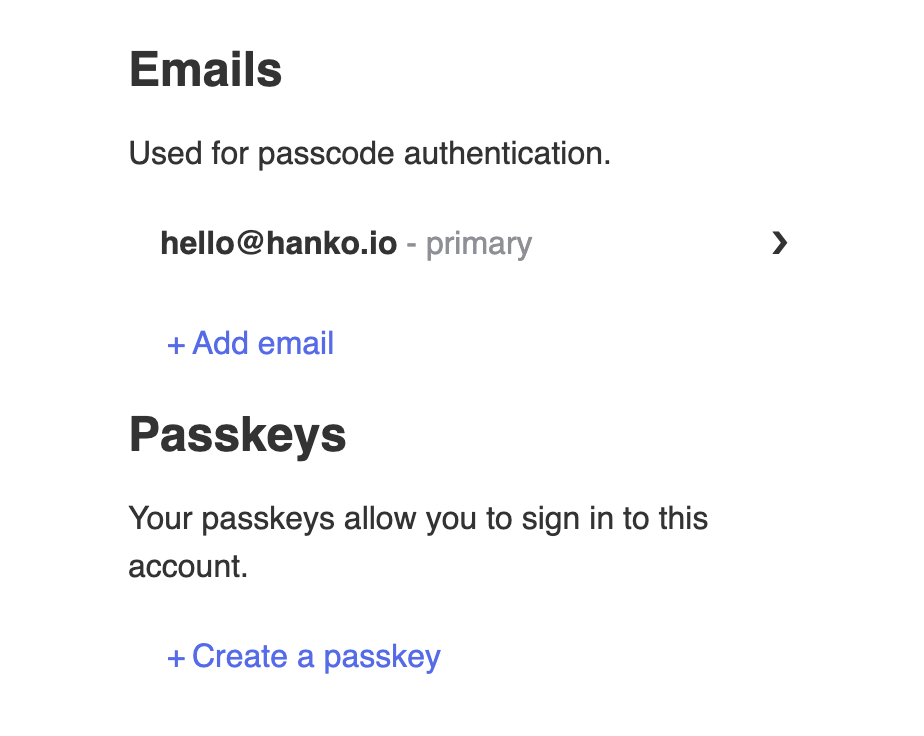
/ to see the <HankoAuth>, and to /dashboard to see the <HankoProfile>.
They should look something like this👇


If
HankoAuth is not loading please restart the application as it might’ve not loaded the .env correctly the first time.HankoProfile will only look like the picture while you are logged in.Implement logout functionality
You can use@teamhanko/hanko-elements to easily logout users. Here we will make a logout button.
Create LogoutButton.vue and insert the code below.
src/components/LogoutButton.vue
DashboardView just like this:
src/views/DashboardView.vue
Customize component styles
You can customize the appearance ofhanko-auth and hanko-profile components using CSS variables and parts. Refer to our customization guide.
Securing routes
To secure our routes we should validate the session token at the backend. Please refer to our backend guides. To do this we can implement middleware to ourrouter/index.ts file.
For this example we created a isUserAuthenticated function which validates our cookie using our Backend.
Here we use router.beforeEach to validate our route if our route is added to the secureRoutes variable:
src/router/index.ts
Try it yourself
Vue example
It uses Express.js for the backend, full source code available on our GitHub.