

Hanko Frontend Integration Guide:About Hanko:Hanko is a modern open source authentication solution and the fastest way you integrate passkeys, 2FA, SSO, and more—with full control over your data. Move between self-hosted and Hanko Cloud anytime. No lock-in. Just Auth how it should be: secure, user friendly, and fully yours.What This Guide Covers: This guide demonstrates how to integrate Hanko authentication into your frontend application. You’ll implement user authentication, profile management, route protection, and logout functionality with Hanko Elements web components.Key Technologies:
- Modern frontend framework with TypeScript support
- Build tools and development environment
- Client-side routing and navigation
- Hanko Elements web components
- Hanko SDK for authentication logic
- Node.js installed on your system
- Basic knowledge of your chosen frontend framework
- A Hanko Cloud account (sign up at cloud.hanko.io)
- Set up your frontend application with the appropriate build tools
- Install and configure Hanko Elements
- Create a Hanko project in the cloud console
- Implement authentication components (HankoAuth, HankoProfile)
- Set up routing and navigation
- Add logout functionality
- Implement protected routes with session validation
- Retrieve and display user data
- Customize component styling and behavior
Install @teamhanko/hanko-elements
Install hanko-elements to access the pre-built hanko-auth and hanko-profile components.
Add the Hanko API URL
Retrieve the API URL from the Hanko Console and place it in your .env file..env
If you are self-hosting you need to provide the URL of your running Hanko
backend.
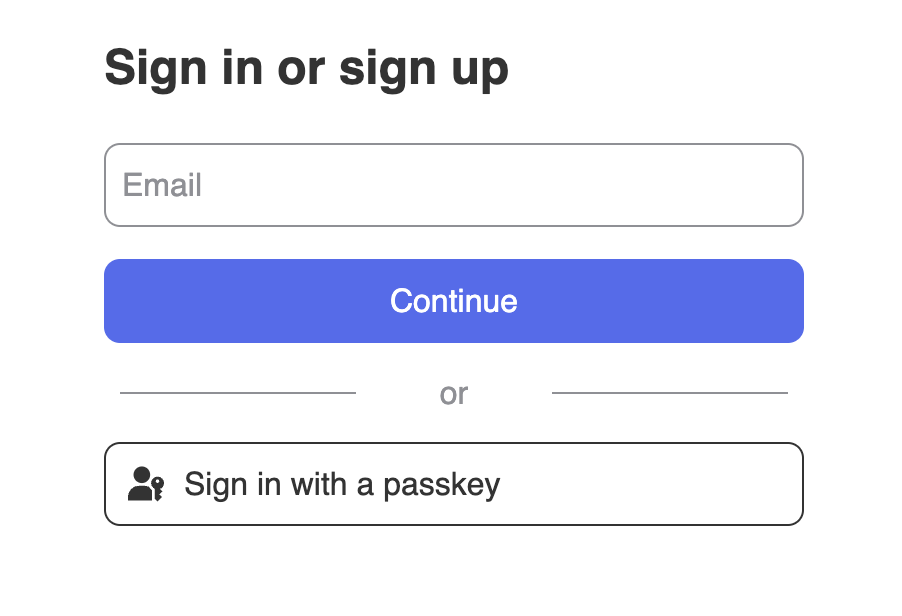
Add <hanko-auth> component
Add the <hanko-auth> web component to create a login interface. Import the register function from @teamhanko/hanko-elements and call it with your Hanko API URL to register the component with the browser’s CustomElementRegistry.
components/HankoAuth.tsx
Add <hanko-profile> component
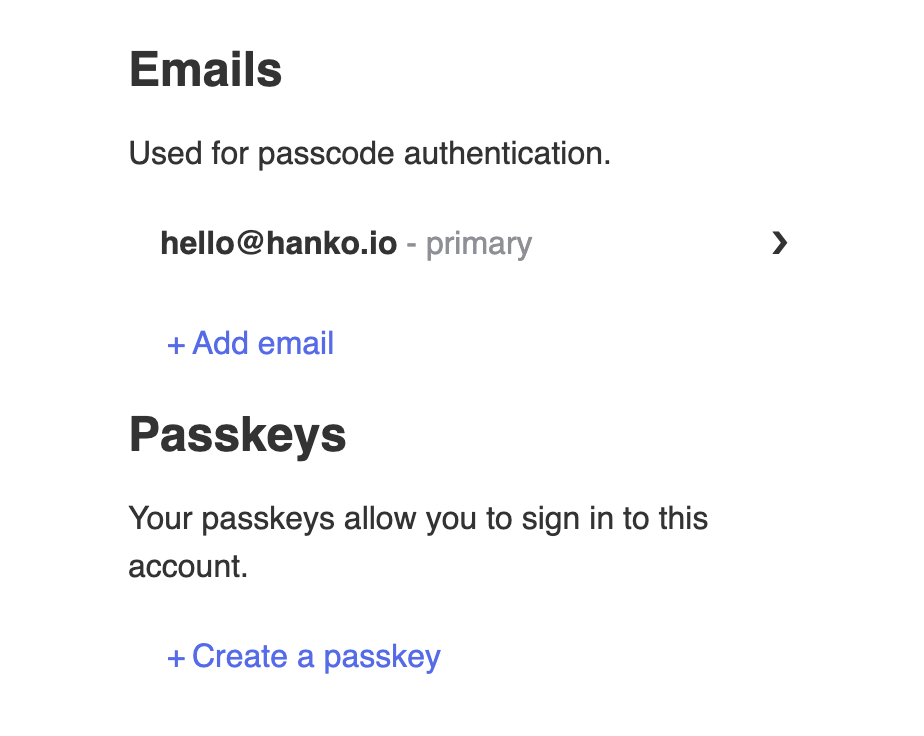
The <hanko-profile> component provides an interface, where users can manage their email addresses and passkeys.
components/HankoProfile.tsx
Implement logout functionality
Create a logout button component using@teamhanko/hanko-elements to manage user logouts:
components/LogoutButton.tsx
Customize component styles
You can customize the appearance ofhanko-auth and hanko-profile components using CSS variables and parts. Refer to our customization guide.
Authenticate backend requests
To authenticate requests on your backend with Hanko, refer to our backend guide.Try it yourself
Solid.js example
It uses Express.js for the backend, full source code available on our GitHub.