

Hanko Fullstack Integration Guide:About Hanko:Hanko is a modern open source authentication solution and the fastest way you integrate passkeys, 2FA, SSO, and more—with full control over your data. Move between self-hosted and Hanko Cloud anytime. No lock-in. Just Auth how it should be: secure, user friendly, and fully yours.What This Guide Covers: This comprehensive guide demonstrates integrating Hanko authentication into your fullstack application using the
@teamhanko/hanko-elements package. You’ll learn to set up authentication components, implement session management, secure routes with middleware, and handle user data across both client and server-side contexts.Key Technologies:- Modern fullstack framework with TypeScript,
- Server-side rendering capabilities
- Hanko Elements
- Hanko Cloud Console
- Session management
- Middleware protection
- Node.js installed on your system
- Basic knowledge of your chosen fullstack framework
- A Hanko Cloud account (sign up at https://cloud.hanko.io/signup)
- Install and configure Hanko Elements package for your framework
- Set up HankoAuth component with session event handling and navigation
- Create HankoProfile component for user credential management
- Implement logout functionality with proper session cleanup and redirects
- Secure routes using framework-specific middleware with session validation
- Retrieve user data both client-side and server-side using appropriate APIs
- Handle authentication redirects, error states, and edge cases
- Configure server-side rendering integration and hydration
- Customize component appearance and behavior for your application
Create a Next.js application
Run the following command to create a new Next.js application:When setting up Next.js, you’ll choose either the App Router or the Pages Router. Be sure to follow the proper directory structure and add the matching code for the router you selected.
Install @teamhanko/hanko-elements
Once you’ve initialized your NextJS app, installing hanko-elements provides you with access to the prebuilt components: hanko-auth and hanko-profile.
This installs the Hanko Elements package, providing pre-built authentication components.
Set up your Hanko project
Go to the Hanko Console and create a project for this application.During creation make sure to input the URL you will be developing on as the
APP URL.
(Most likely http://localhost:3000)Add your Hanko API URL
Retrieve your API URL from the Hanko Console, and paste this in a.env file.
Set up your environment variable for the Hanko API URL. The NEXT_PUBLIC_ prefix makes it accessible in the browser.
.env.local
If you are self-hosting you need to provide the URL of your running Hanko backend.
Create Hanko components
Create a folder calledcomponents and create two files, HankoAuth.tsx and HankoProfile.jsx.
Add Typescript types
To get these elements to work with typescript, currently we must add the types to the project. To do do this, create a file calledcustom.d.ts and place it in your apps root / src folder.
Add TypeScript declarations for Hanko Web Components to enable type checking and IntelliSense support.
src/custom.d.ts
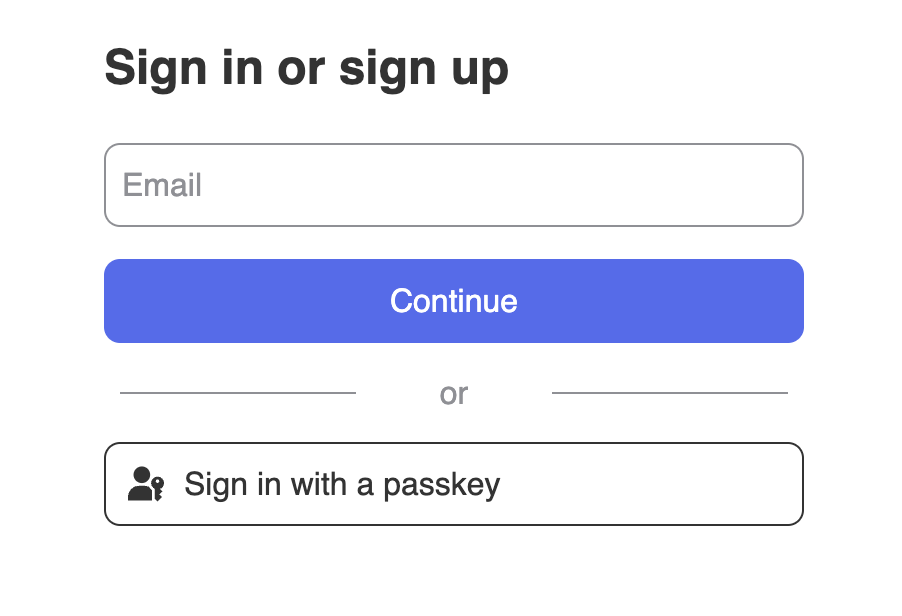
Login page with <hanko-auth>
Now lets setup the HankoAuth.tsx file to create a functioning login page.
Here we subscribe to the onSessionCreated event, this triggers when a user successfully logs in. You can use these event to perform any desired action. (e.g. redirect to your dashboard).
For more information please refer to the Auth component page.
- App directory
- Pages directory
App Router version: This authentication component handles session events and redirects users after successful login.
components/HankoAuth.tsx
- App directory
- Pages directory
App Router login page that renders the HankoAuth component.
app/login/page.tsx
Profile page with <hanko-profile>
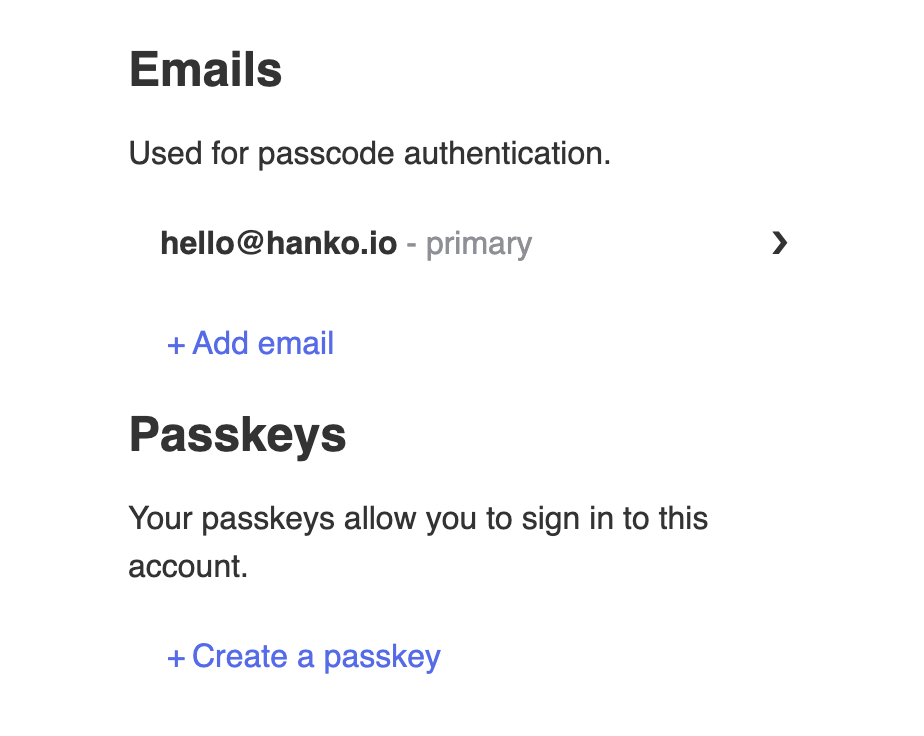
After setting up HankoAuth, let’s set up the HankoProfile.jsx file to create an interface where users can
manage their email addresses and login methods.
For more information please refer to the Profile component page.
- App directory
- Pages directory
App Router profile component for managing user emails and credentials.
components/HankoProfile.jsx
HankoProfile component, simply import it into any page.
- App directory
- Pages directory
app/dashboard/page.tsx
Implement logout functionality
You can use@teamhanko/hanko-elements to easily logout users. Here we will make a logout button.
Create LogoutButton.tsx and insert the code below.
- App directory
- Pages directory
App Router logout button component that handles session cleanup and navigation.
components/LogoutButton.tsx
Customize component styles
You can customize the appearance ofhanko-auth and hanko-profile components using CSS variables and parts. Refer to our customization guide.
Securing routes with middleware
To verify the session token in your Next.js application, we’re using the session/validate API request. By checking for a valid session token this middleware will ensure secure access to specific routes, like/dashboard and /protected.The middleware extracts and verifies the session token, and redirect unauthorized users back to the home or login page. For more info on middlewares and where to put the
middleware.ts file,please refer to NextJS Middleware.
Middleware tends to not always work after creating it, if this is the case try restarting your next app.
middleware.ts
/dashboard, you should get redirected back.
Getting user data
Client side
Lets use the Hanko SDK to get user data. Lets update thedashboard page to log some of the information from the user and session.
- App directory
- Pages directory
App Router dashboard with client-side user data retrieval using the Hanko SDK.
app/dashboard/page.tsx
Server side
On the server side, you can validate the session token and use it to fetch the user’s data from the Hanko Public API. This server-side function validates sessions and fetches user data using the Hanko API.getUserData.ts
Try it yourself
Next.js example (App router)
Full source code available on our GitHub
Next.js example (Pages router)
Full source code available on our GitHub.