Let’s set it up
At Hanko, we understand that finding the right stack for the project is a big step. In this guide, we will bring Next.js as the main character of the project, we will test the Client vs Server Components. For the style, we will use Tailwind CSS. We will use Hanko for the login and registration, user management and logout. Prisma will handle the storage.Initialize the Next.js app
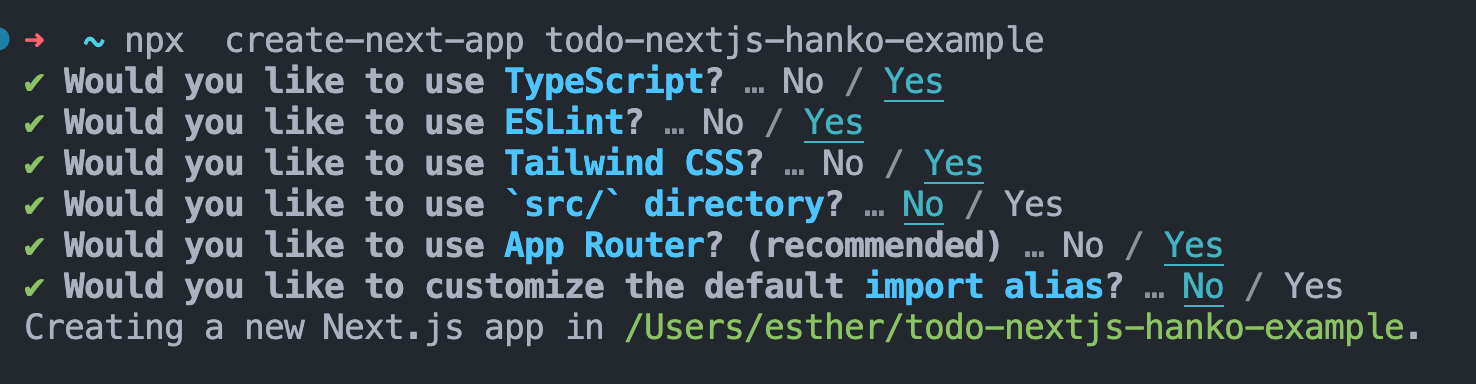
To create a new Next.js app, we can use thecreate-next-app or create-next-app@latest command-line tool followed by the name of your choice for the app. Open your terminal in Visual Studio Code and run the following command:
terminal
Understanding the project structure
When using the version 13 of Next.js, we have the option to work with the App Router directory instead of the Pages Router, for a quick summary we could say that:- The new directory named “app” is replacing “pages”
- “page.tsx|page.jsx” is the new “index.tsx|index.jsx”
- “layout.tsx” is the new “_app.tsx”
- Everything is a Server Component unless you make it a Client Component using the “use client” directive at the top of the file.
- API Routes are now Server Components or Route Handlers (… More info on how this is very important)
tailwind.config.ts file, defining your color palette, fonts, breakpoints, etc.
For more information about the App Router of Next.js click
here.
Setting up Prisma
Install the Prisma CLI as a development dependency in the project:terminal
prisma directory with your Prisma schema file and configures SQLite as your database. Once we also create the “Todo” model, the Prisma schema file should look like this:
- It creates a new SQL migration file for this migration in the
prisma/migrationsdirectory. - It runs the SQL migration file against the database.
prisma directory with the name dev.db as defined via the environment variable in the .env file.
To prevent problems when instantiating PrismaClient, on the Prisma Docs there’s a section dedicated to the best practice to do it. Let’s try it by creating a db.ts file in the root of the app and add the following code inside:
For more information about Prisma integration click
here.
Building the user interface
The goal is to build a simple “todo app” with a nice login to protect the todos, for this we will only need two pages:- The login page where the Hanko-auth component will play its part in handling authentication.
- The todo page where all the todos will be displayed.
App structure
In the App Router directory, thepage.tsx is like the new index.tsx, which means that this name will play an important role when creating a new route. You can define a page by exporting a component from a page.tsx file.
Now you can update the page.tsx file to display “Hello World” as done below.
The Todo page
We will style this page using Tailwind CSS classes to create a centered container to display the todos. We need a form with an input to create the new todos, and every todo element will have a checkbox and a delete button. Inside theapp directory, create a new todo folder with a page.tsx file inside of it. Use the code below as the todo/page.tsx contents:
For a better understanding of the Tailwind CSS classes click
here.
Todos in the making
To make our app functional, we need to be able to create a new todo, then check the todo once it’s completed and finally be able to remove a single todo from the list.API Routes in Next.js 13
What we know as API Routes are replaced by Route Handlers and they are defined in aroute.ts|js file inside the app directory. Read more about the Route Handlers in the Next.js Docs.
Inside the app directory create an api folder. We will group our Route Handlers as follows: one directory todo with a route.tsx which will contain the POST HTTP method handler for creating a new todo, and in that same directory we will use a dynamic route to GET and DELETE todos. Should look like the following example:
New Todo
This is a good moment to start breaking it down into components, let’s first create acomponents folder at the root directory, then create a components/todos/NewTodo.tsx file and use the following as its contents:
useState() and subscribing to interactive events.
This is how we call Prisma to create the todo inside the api/todo/route.ts Route Handler:
todo/page.tsx file to get all our todos, then we pass them to our components/todos/TodoItem.tsx file to be displayed. This is how the todo/page.tsx should look after our changes:
Update and Delete todo by ID
In the next step, we need a way to handle marking a todo as completed and to handle the deletion of a todo. Accordingly, we createupdate and delete functions that fetch our dynamic route. This would be the components/todos/TodoItem.tsx file:
api/todo/[id]/route.tsx Route Handler:
For more information on the Prisma Client Api click here.
Authentication with Hanko
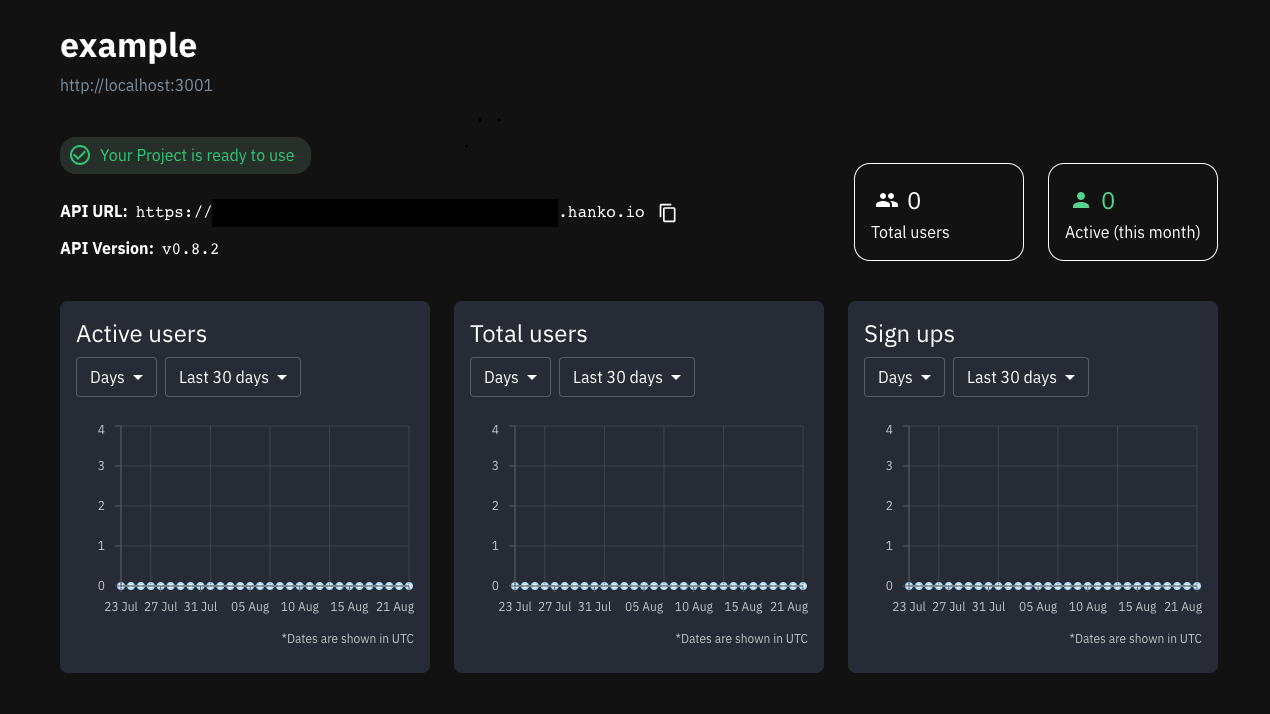
Now is time to start working on the security.Hanko Cloud setup
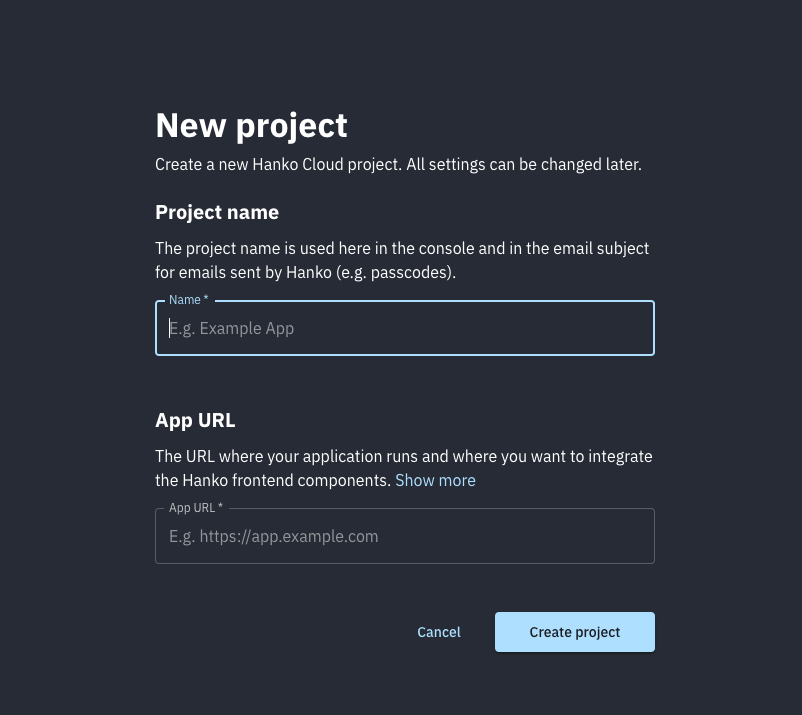
Visit Hanko Cloud and create an account. Then create an organization to manage your Hanko project.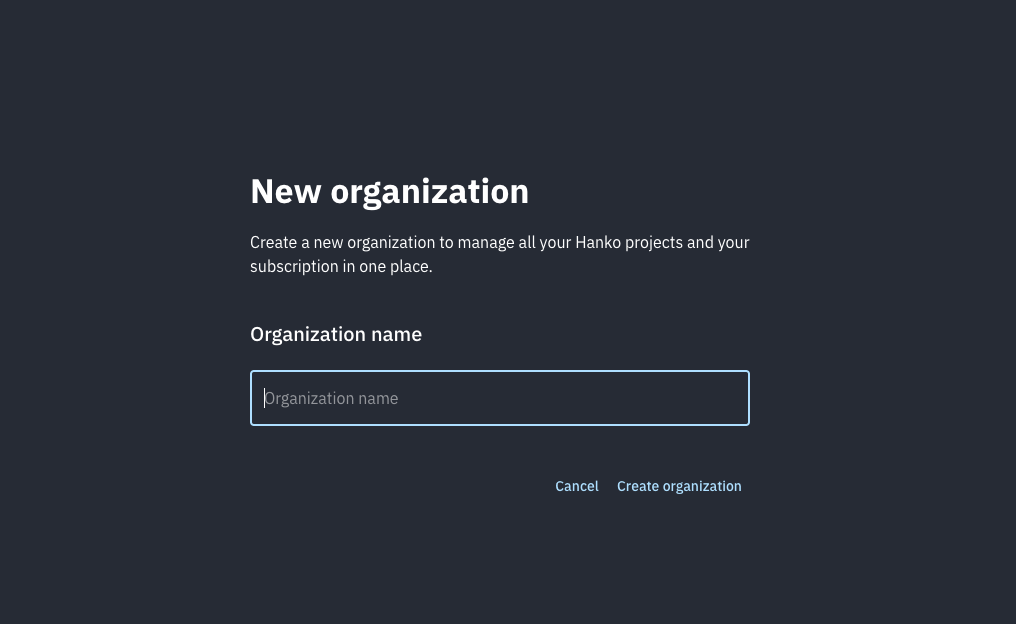
Adding Hanko to the Next.js app
Let’s bring Hanko to the game by installing the@teamhanko/hanko-elements package running the code below:
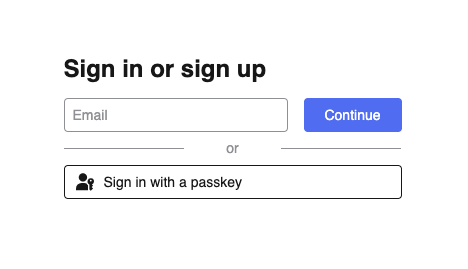
@teamhanko/hanko-elements, and call the function with the Hanko API URL as an argument to register the <hanko-auth>. Now include it in your JSX:
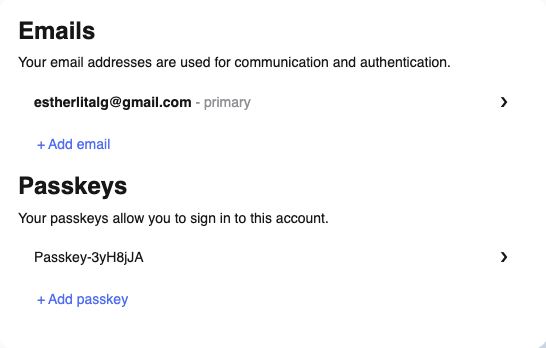
<hanko-profile> component offers a page for managing email addresses and passkeys. Let’s create a profile button component by creating a file components/Profile.tsx and use the following code as its content:
@teamhanko/hanko-elements to manage user logouts by creating a logout button component. Create a file components/Logout.tsx and use the following as its content:
Verifying JWT with jose library
Hanko issues a cookie after a successful login. The value of this cookie is a JWT and to secure our app we still need to verify the JWT.
What are JWTs? > A JSON Web Token (JWT) is a compact and self-contained way for transmitting information between parties as a JSON object in a secure way. The purpose of a JWT is to ensure the authenticity of the data.
Hanko handles the authentication and signing of the JWT. On successful authentication with Hanko a cookie, which contains said JWT as its value, is set. We don’t really need to know a lot about JWTs, but it’s worth getting familiar with the parts of a JWT (header, payload and signature), and with what a JWKS is. For more information you can visit JWT.io.
To verify the JWT we need to install the jose package:
jose is a JavaScript module that supports JWT and provides functionality for signing and verifying tokens.
For more information about
jose click here.Middleware
Create a new filemiddleware.tsx in the root of your project and use the following code:
createRemoteJWKSet function from jose. Then we call await jose.jwtVerify(token, JWKS). If the token can be verified, then the promise returned from the function resolves to a decoded token. If it cannot be verified, then the promise rejects and we can catch the error and handle it appropriately, e.g. by redirecting the user to the login/home page. If you console.log the const verifiedJWT you should see the decoded token showing the payload, the protectedHeader and the key. Inside the key, you should be able to see a “true” if it’s verified.
For more information about Next.js Middleware click here.
Securing the application and redirecting
To prevent unauthorized users from getting access to private user data, we can add the paths to be protected in the Middleware configuration. Following the example on the Next.js Docs about the middleware, copy the following code to the bottom of yourmiddleware.tsx file:
Login page to subscribe to the events of the Hanko client and redirect to the Todo page after a successful login:
Time to display the right Todos
Lastly, we should only display the todos for the user that is logged in. To do so, we need to link the todos to the correct “user ID”. The first step is to update the Todo model in theprisma schema:
terminal
terminal
api/todo/route.tsx file to get the user ID from the token, then create a new todo if there is a user ID:
todo/page.tsx:
Try it yourself
Todo app using Hanko Auth, Next.js 13 and Prisma
Full source code available on our GitHub
Deployment & CORS Configuration
After deploying your Next.js app (for example, on Vercel), update your App URL in the Hanko Cloud Console:- Go to Hanko Cloud Console.
- Select your project.
- Navigate to Settings > General.
- Update the App URL to match your production domain (e.g.,
https://your-app.vercel.app).
For best practice, create separate Hanko Cloud projects for development and production. This keeps test users out of your live app and allows you to test settings safely.