You are of course free to choose what authentication methods you want to use when integrating with Hanko. This assumption is only made to exemplify how integration would look.
Add a view for scanning a QR code
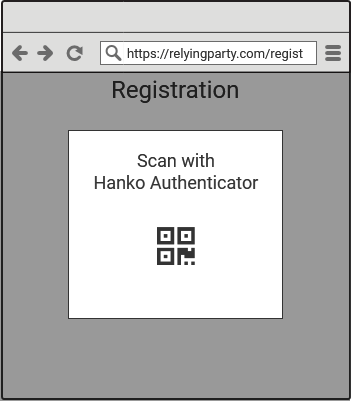
Using the Hanko Authenticator involves out-of-band communication and requires the user to scan a QR code with the Hanko Authenticator app on their mobile device during registration. After the user selects the Hanko Authenticator for registration, initialize the process as described in the getting started guide. The API response provides a link for generating a QR code. Use the link to generate the QR code and display it to the user (e.g. through a modal, as depicted below). Scanning the code with the Hanko Authenticator kicks off the out-of-band communication between the user’s mobile device and the Hanko API. Because the original client needs to be updated about the registration request status, use a fixed-delay polling mechanism in your application after prompting the QR code, in order to retrieve the status of the request through the{API_URL}/v1/uaf/requests/{id} endpoint. Once the status resolves to either an OK or FAILED state, redirect to an appropriate page (e.g. a user profile) or to an error page.