> ## Documentation Index
> Fetch the complete documentation index at: https://docs.hanko.io/llms.txt
> Use this file to discover all available pages before exploring further.
# Getting started with Hanko Cloud
> This guide walks you through setting up your Hanko Cloud project and obtaining your API key to integrate Hanko into your app.
When using Hanko for your app's authentication, the easiest way is to do that is by utilizing Hanko Cloud infrastructure where we host the Hanko backend for you. You can set up and manage your Hanko projects via the Hanko Cloud Console.
Here's a quick video guide to get started with Hanko Cloud:
## Setting up your Hanko Cloud project:
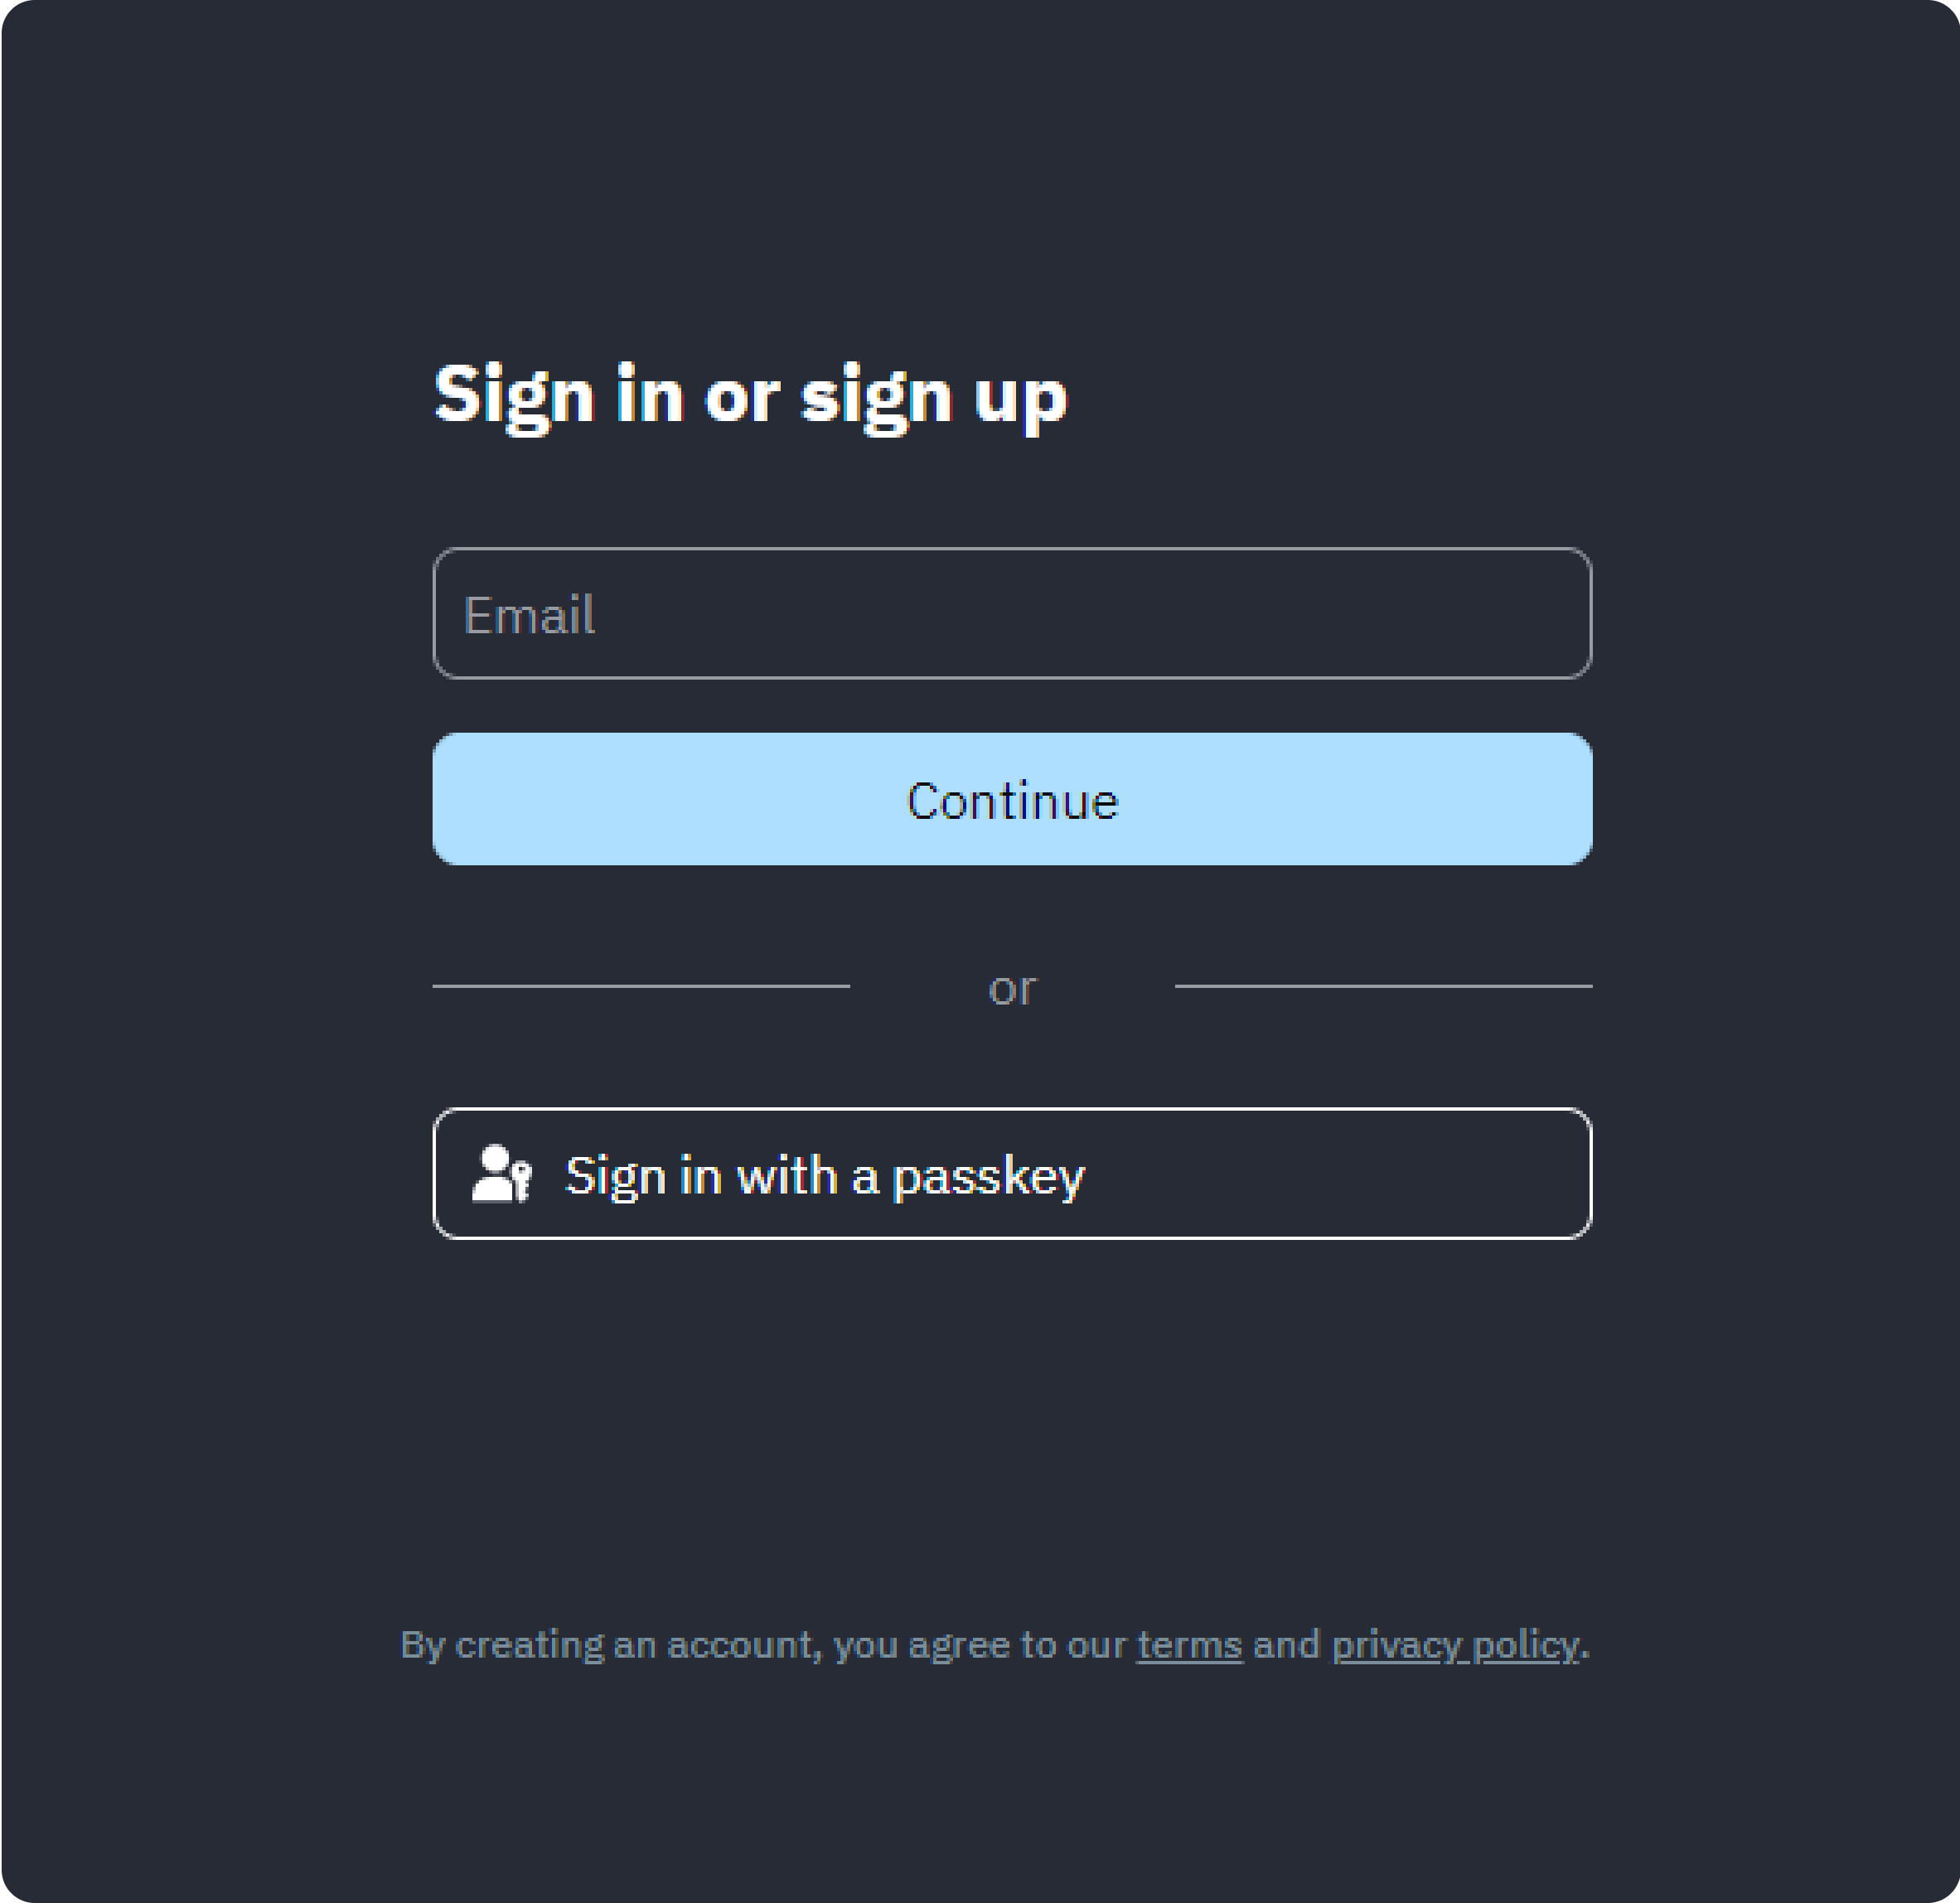
To begin, head over to Hanko Cloud and [create a new account](https://cloud.hanko.io/signup). If you already have an account, just [log in](https://cloud.hanko.io/login).
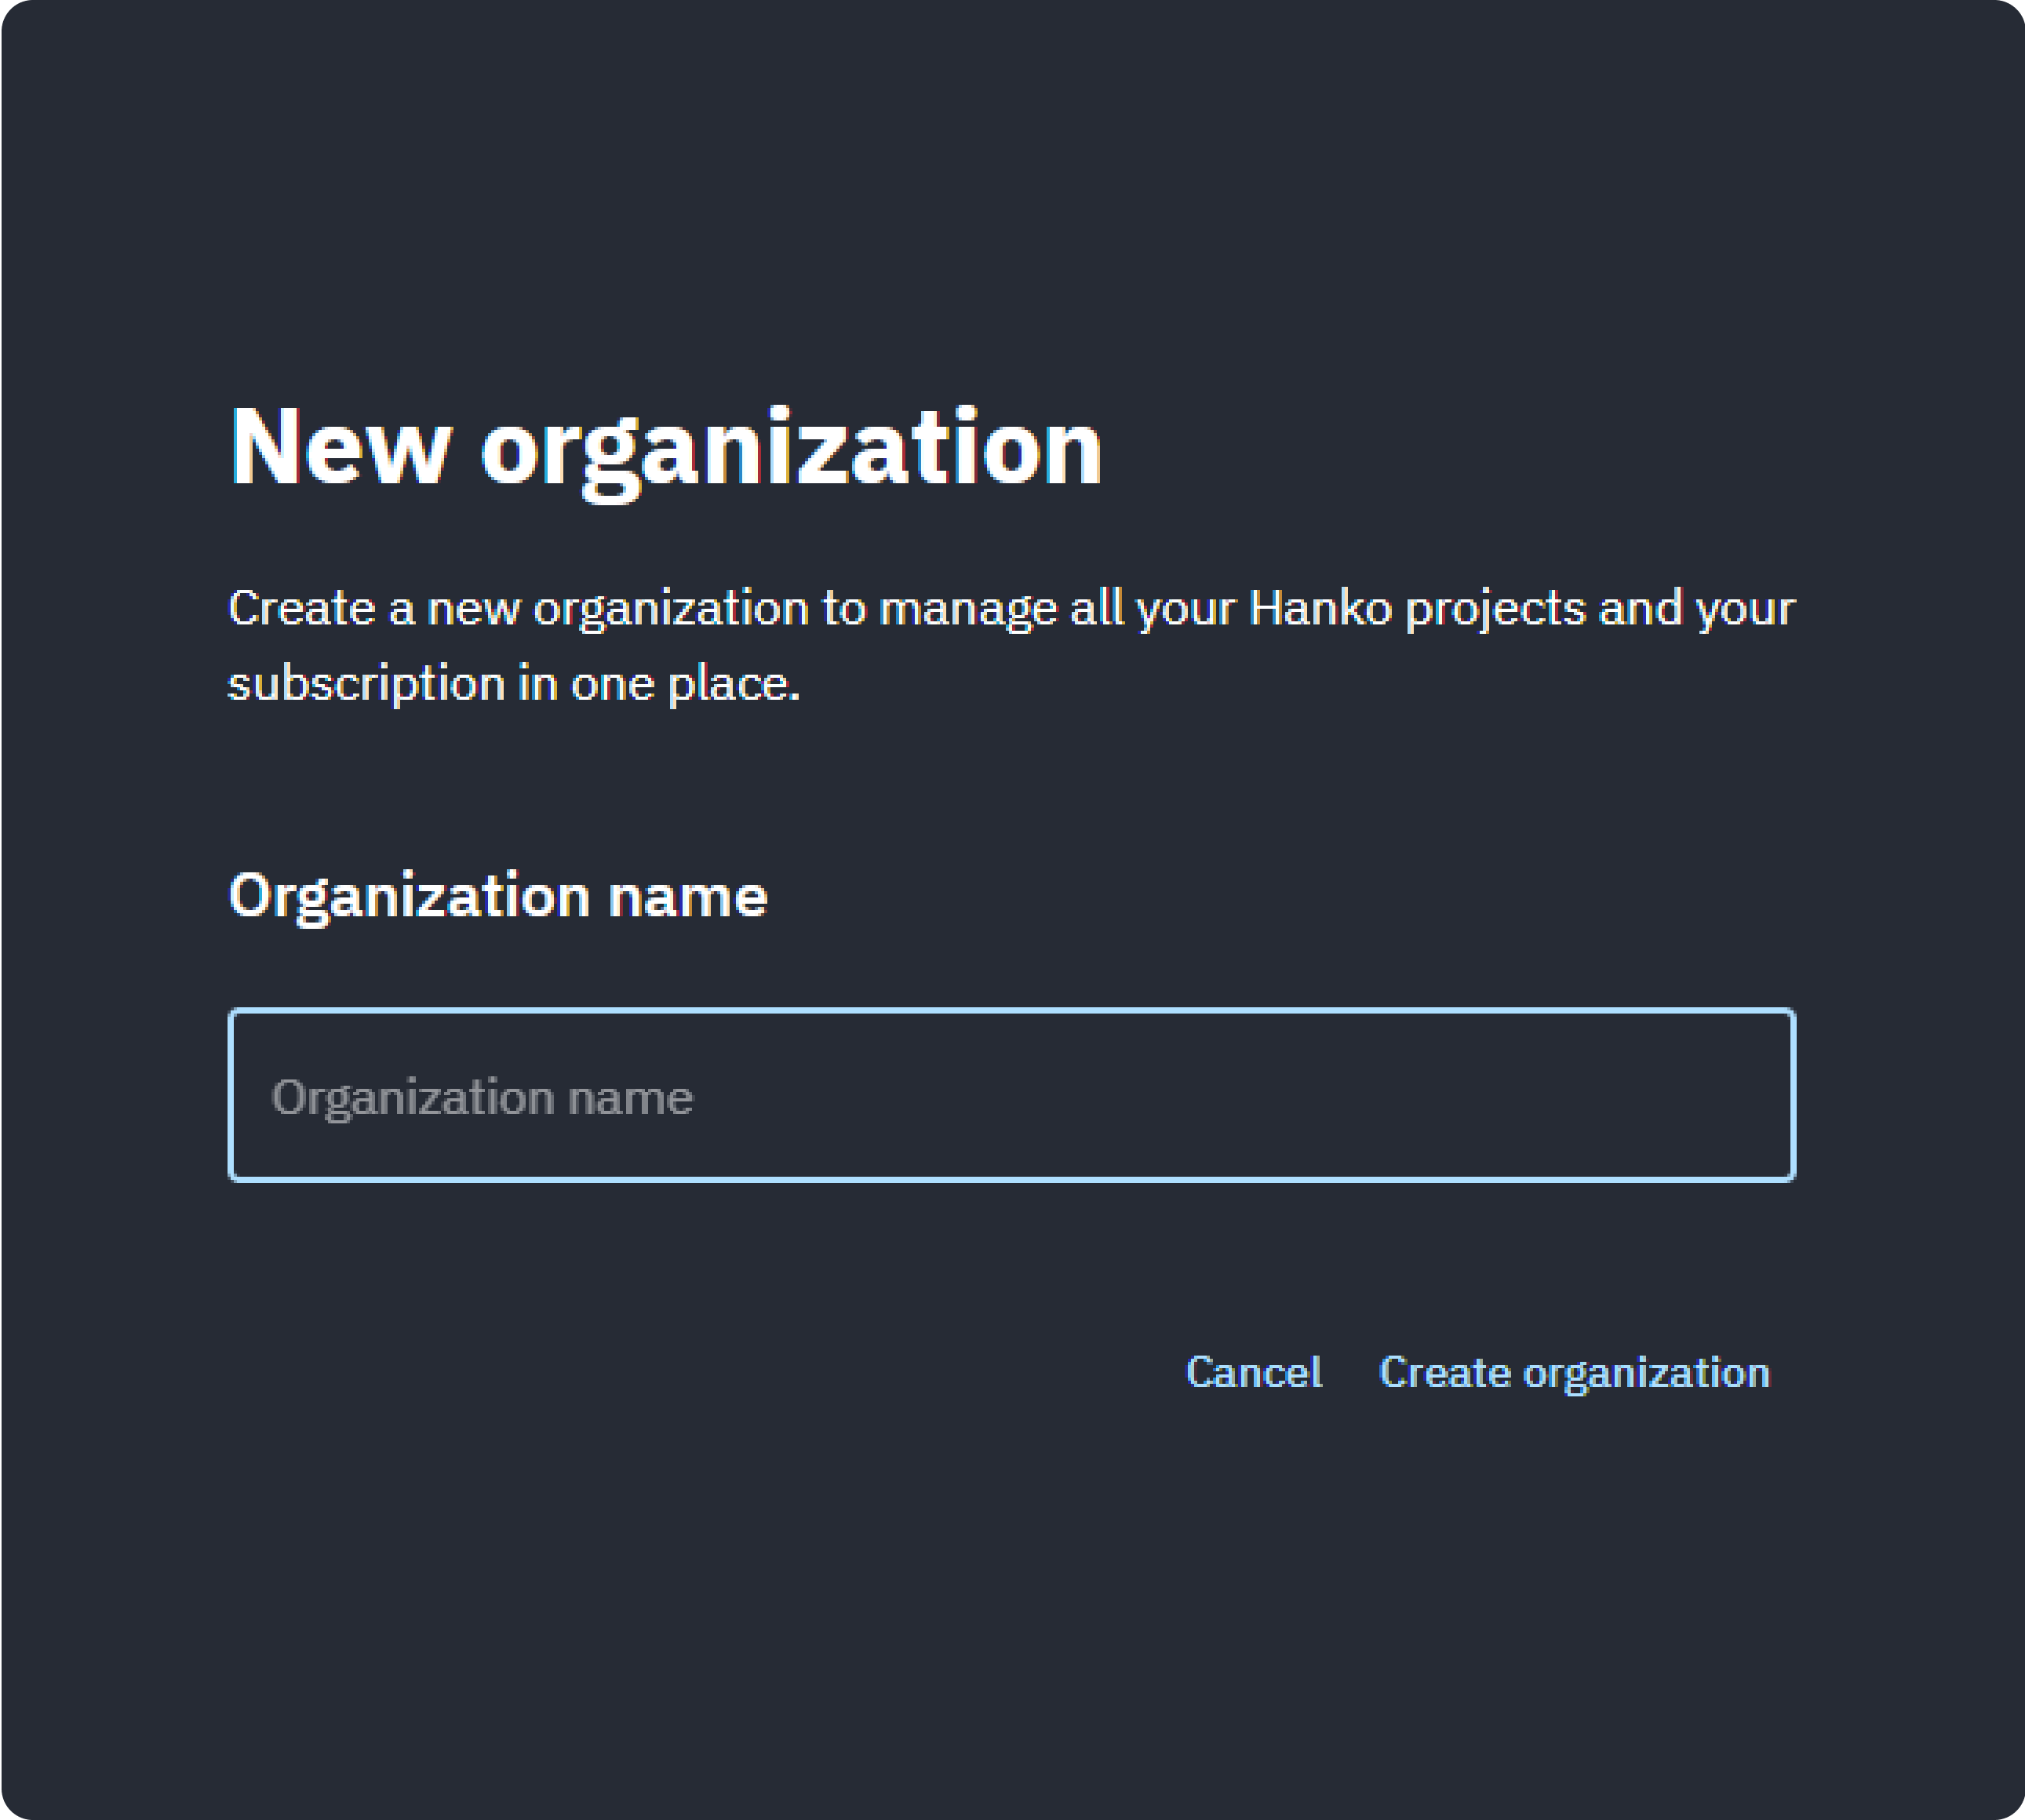
Once you've signed up, you'll be directed to create an organization. You can change the organization's name later, so don't worry too much about it at this point.
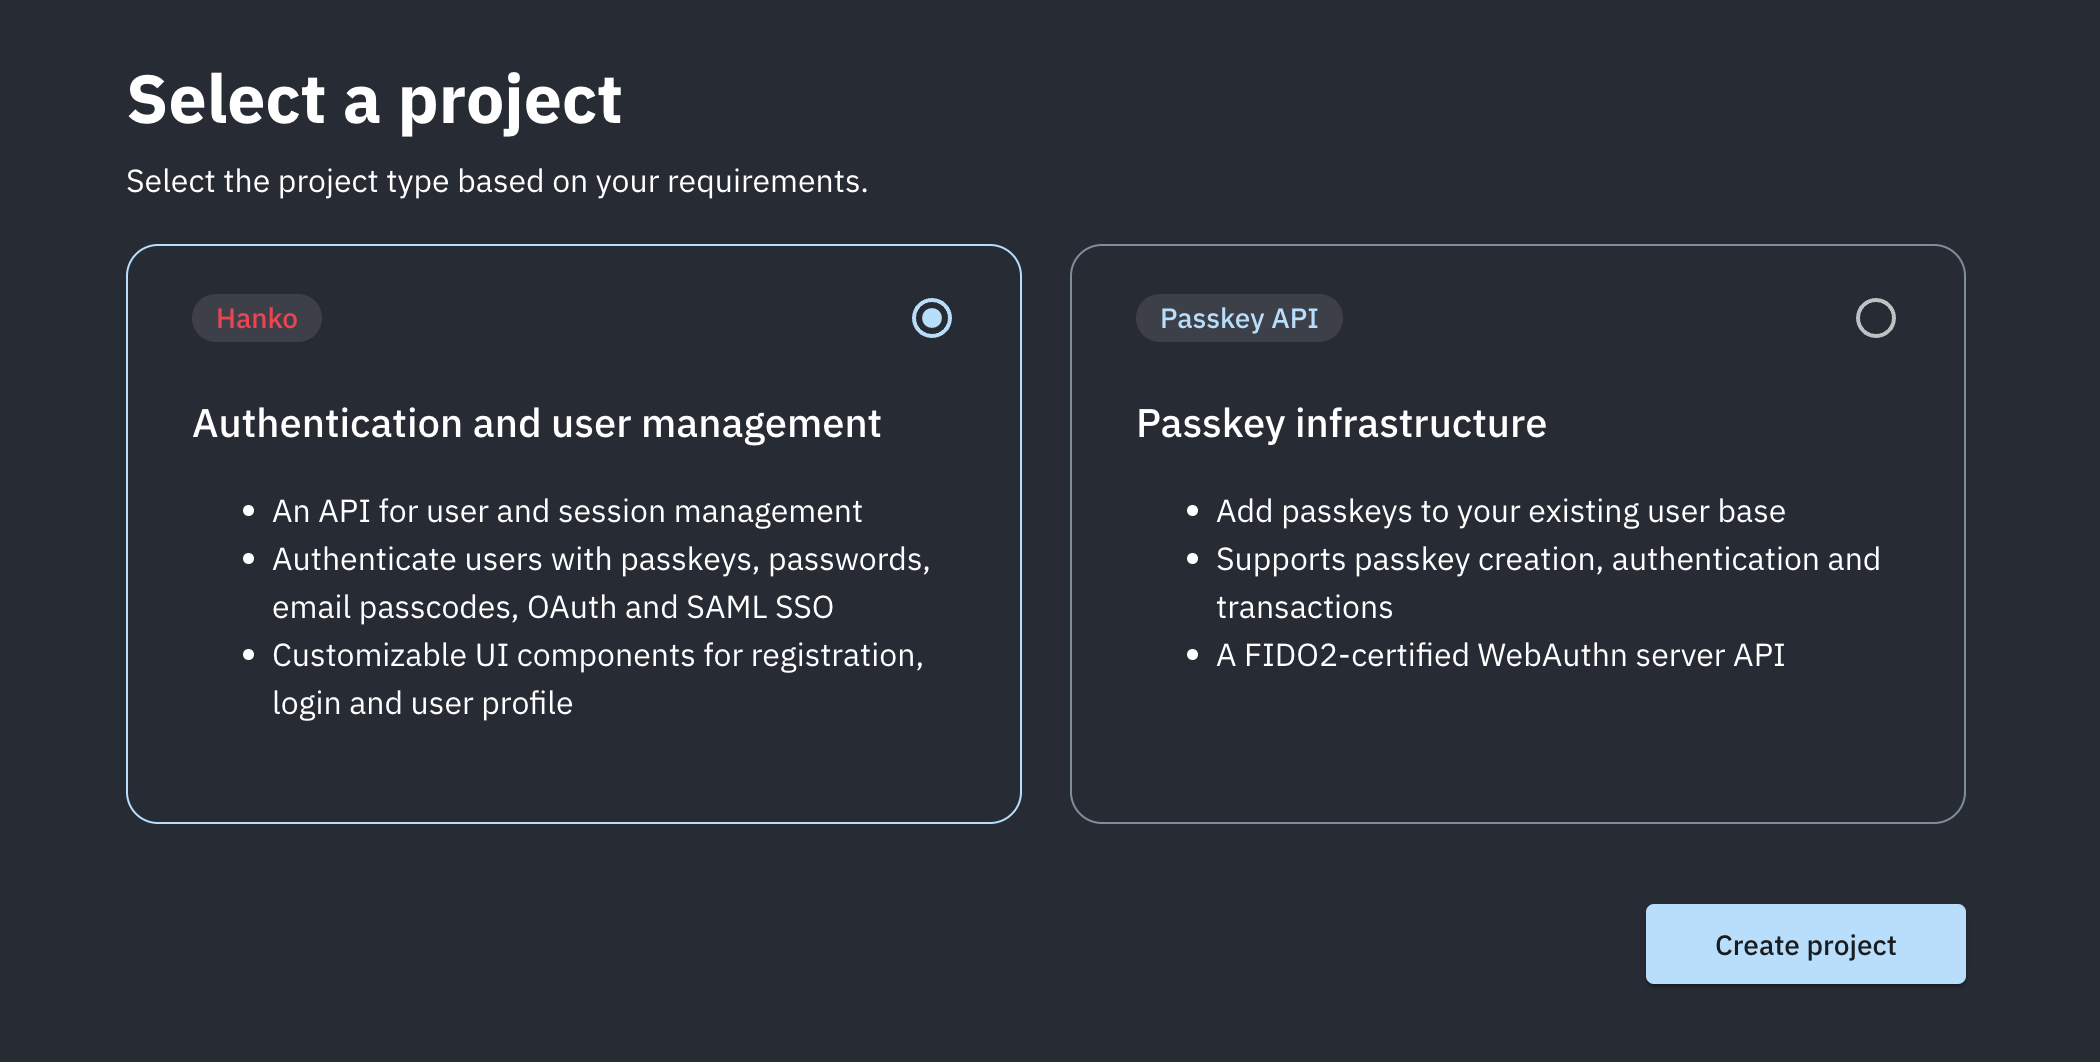
With your organization set, it's time to kick off a new Hanko Cloud project. Choose 'Authentication and user management' and click on 'Continue'. Of course you can also select 'Passkey API' if that's what you want, but be aware that the remainder of this guide is specific for setting up Hanko projects.
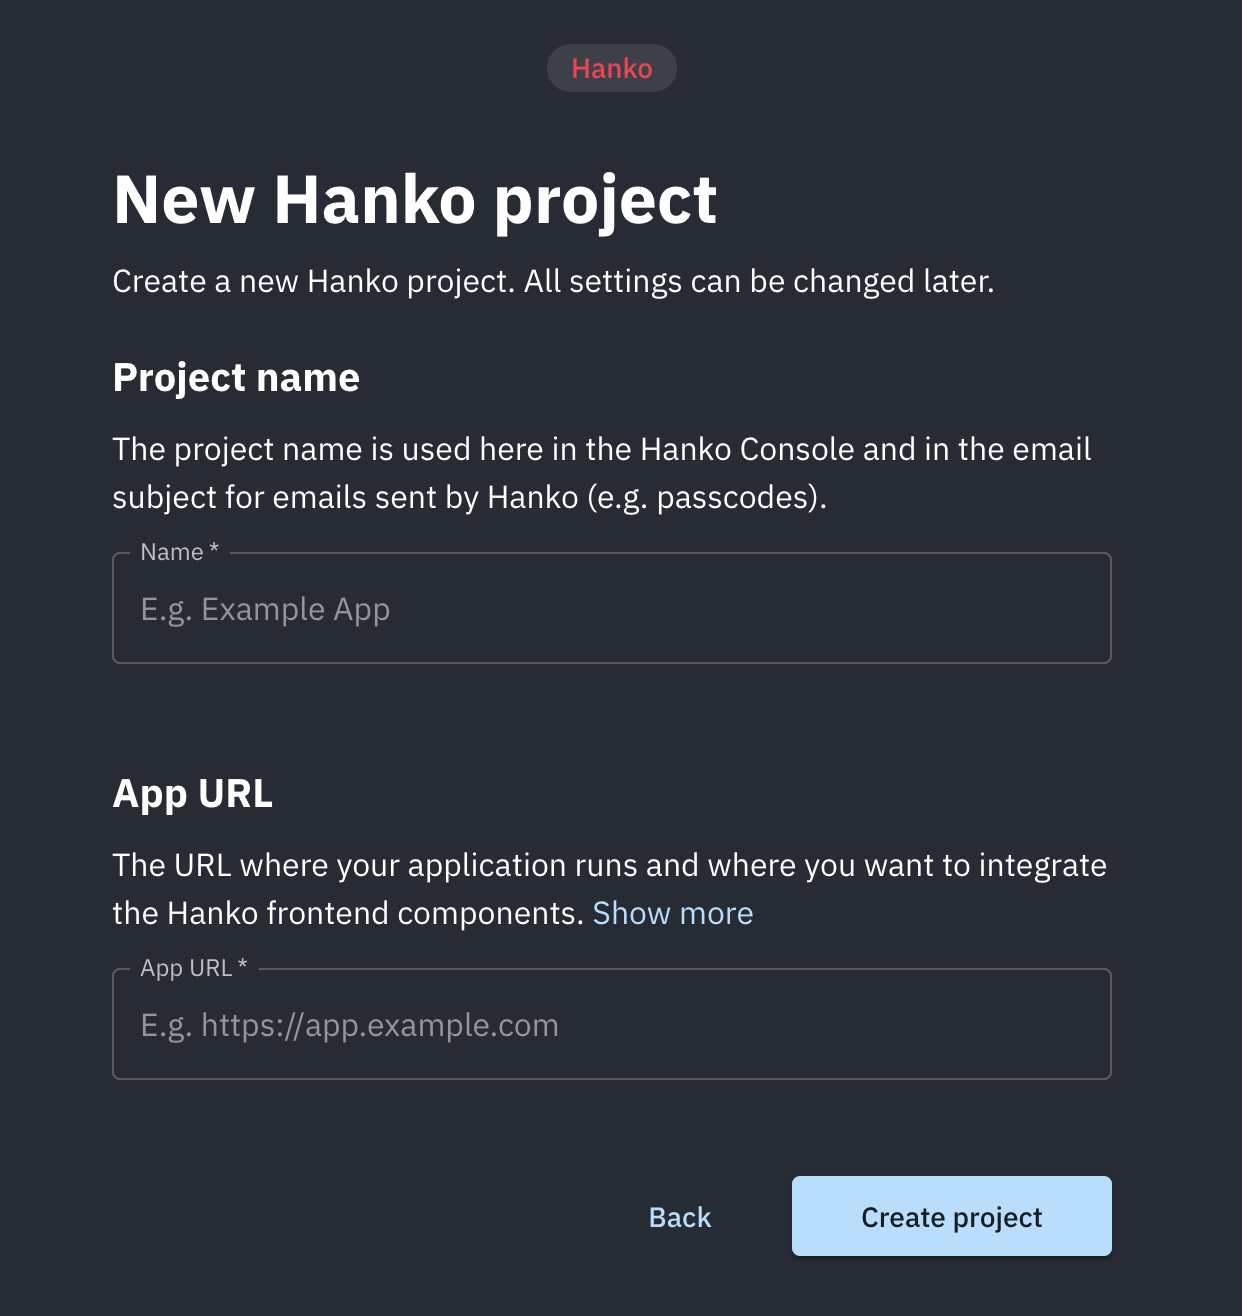
Enter your project name and your app's full URL. For the app URL, include `http://` or `https://` and, if running locally, the port number (e.g., `http://localhost:3000`). You can change both values later.
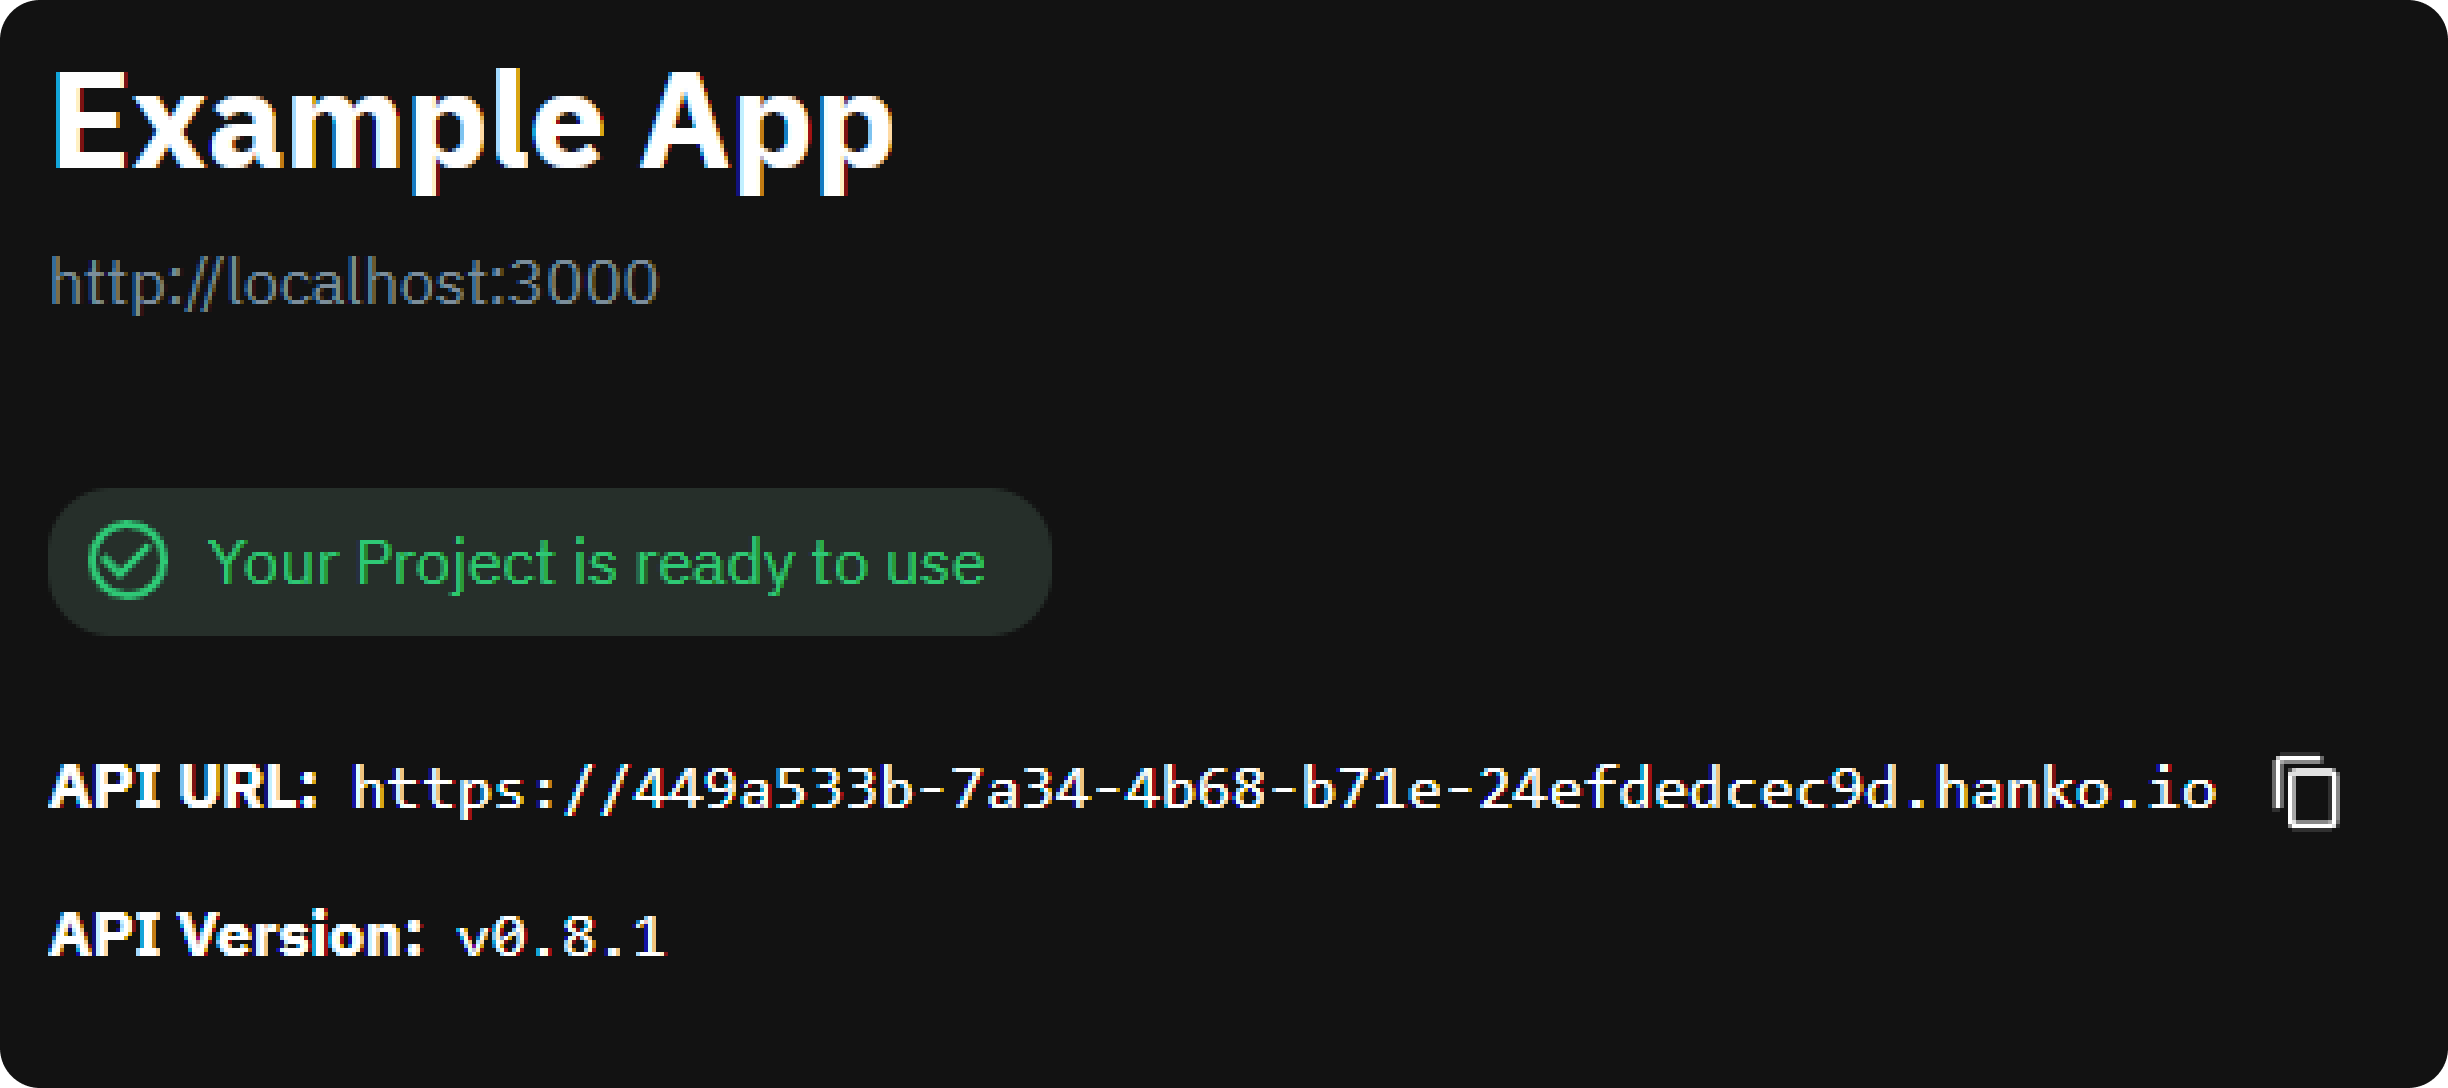
Upon entering your new project's dashboard, notice the API URL shown up top. You'll need this later for the integration.
You're all set! Visit the [quickstarts](/quickstarts/fullstack/next) section to kick off your integration journey with your favorite frameworks.
 Enter your project name and your app's full URL. For the app URL, include `http://` or `https://` and, if running locally, the port number (e.g., `http://localhost:3000`). You can change both values later.