> ## Documentation Index
> Fetch the complete documentation index at: https://docs.hanko.io/llms.txt
> Use this file to discover all available pages before exploring further.
# Integrate Hanko with Svelte
> Learn how to quickly add authentication and user profile in your Svelte app using Hanko.
**Hanko Frontend Integration Guide**:
**About Hanko**:
Hanko is a modern open source authentication solution and the fastest way you integrate passkeys, 2FA, SSO, and more—with full control over your data. Move between self-hosted and Hanko Cloud anytime. No lock-in. Just Auth how it should be: secure, user friendly, and fully yours.
**What This Guide Covers**: This guide demonstrates how to integrate Hanko authentication into your frontend application. You'll implement user authentication, profile management, route protection, and logout functionality with Hanko Elements web components.
**Key Technologies**:
* Modern frontend framework with TypeScript support
* Build tools and development environment
* Client-side routing and navigation
* Hanko Elements web components
* Hanko SDK for authentication logic
**Prerequisites**:
* Node.js installed on your system
* Basic knowledge of your chosen frontend framework
* A Hanko Cloud account (sign up at cloud.hanko.io)
**Integration Tasks You'll Complete**:
* Set up your frontend application with the appropriate build tools
* Install and configure Hanko Elements
* Create a Hanko project in the cloud console
* Implement authentication components (HankoAuth, HankoProfile)
* Set up routing and navigation
* Add logout functionality
* Implement protected routes with session validation
* Retrieve and display user data
* Customize component styling and behavior
## Create a Svelte application
Set up your Svelte frontend using [Vite](https://vite.dev/) as the build tool.
Run the following command to [create a new Vite Svelte application](https://vite.dev/guide/):
```bash npm theme={null}
npm create vite@latest project-name -- --template svelte-ts
```
```bash pnpm theme={null}
pnpm create vite project-name --template svelte-ts
```
```bash bun theme={null}
bun create vite project-name --template svelte-ts
```
```bash yarn theme={null}
yarn create vite project-name --template svelte-ts
```
## Install `@teamhanko/hanko-elements`
Install `hanko-elements` to access the pre-built `hanko-auth` and `hanko-profile` components.
Also install the `svelte-routing` package to handle routing and navigation.
```bash npm theme={null}
cd project-name
npm install @teamhanko/hanko-elements svelte-routing
```
```bash pnpm theme={null}
cd project-name
pnpm add @teamhanko/hanko-elements svelte-routing
```
```bash bun theme={null}
cd project-name
bun add @teamhanko/hanko-elements svelte-routing
```
```bash yarn theme={null}
cd project-name
yarn add @teamhanko/hanko-elements svelte-routing
```
## Set up your Hanko project
Go to the [Hanko Console](https://cloud.hanko.io/) and [create a project for this application.](/setup-hanko-cloud)
During creation make sure to input the URL you will be developing on as the `APP URL`.
(Most likely [http://localhost:5173/](http://localhost:5173/))
## Add the Hanko API URL
Retrieve the API URL from the [Hanko Console](https://cloud.hanko.io/) and place it in your .env file.
```sh .env theme={null}
VITE_HANKO_API_URL=https://f4****-4802-49ad-8e0b-3d3****ab32.hanko.io
```
If you are self-hosting you need to provide the URL of your running Hanko
backend.
## Create Hanko components
Create a folder called `components` and create two files in it, `HankoAuth.svelte` and `HankoProfile.svelte`.
### Hanko Auth
Set up the `HankoAuth.svelte` file to create a functioning login component.
[For more information please refer to the Auth Component Page.](/guides/hanko-elements/auth-component)
```jsx components/HankoAuth.svelte theme={null}
```
After you created the `HankoAuth` component, import and add it in any page.\
Just like this.
```tsx pages/HomePage.svelte theme={null}
```
### Hanko Profile
Set up the `HankoProfile.svelte` file to create an interface where users can manage their email addresses and credentials.
[For more information please refer to the Profile Component Page.](/guides/hanko-elements/profile-component)
```jsx components/HankoAuth.svelte theme={null}
```
After you created the `HankoProfile` component, simply import it into any page.\
In our case we created a dashboardPage.svelte file to show the HankoProfile as our Hanko Auth redirects to `/dashboard`.
```jsx pages/dashboardPage.svelte theme={null}
```
## Set up your routes
After you created the `HomePage.svelte` and `DashboardPage.svelte` you are able to import them into your svelte `App.svelte`.
We will use `svelte-router` to setup the routes of your app.
```jsx App.svelte theme={null}
```
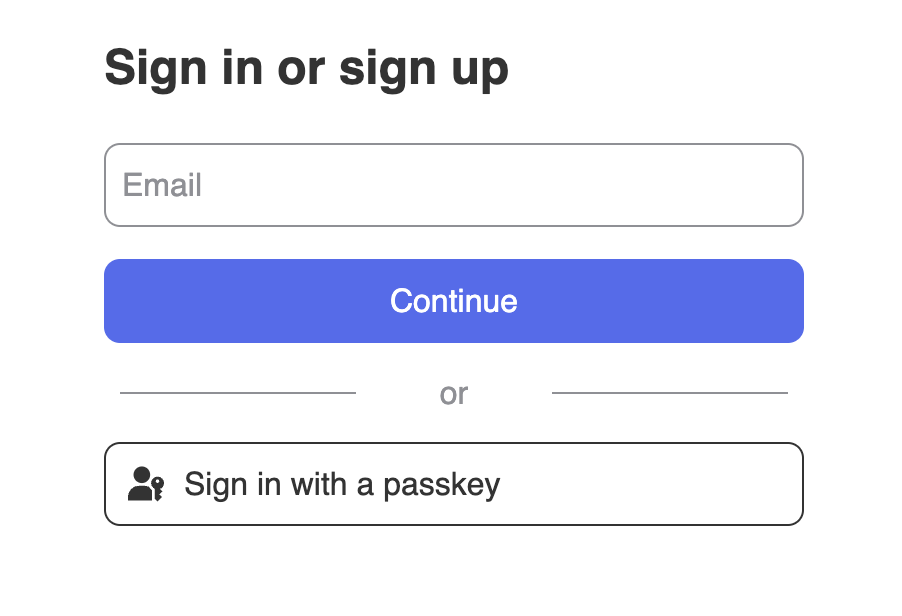
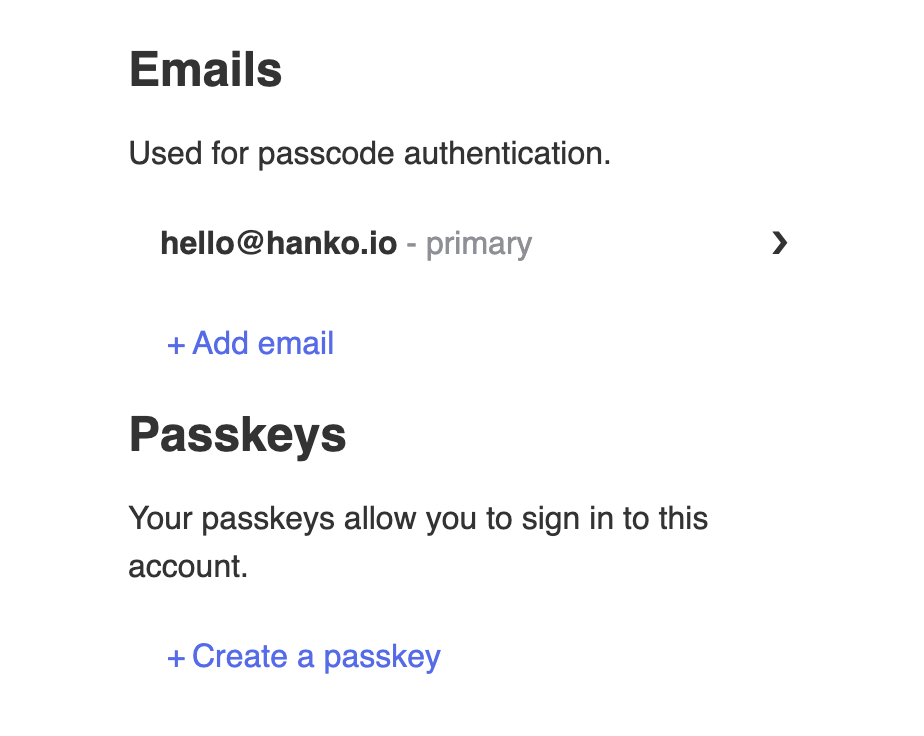
By now you should be able to go to `/` to see the ``, and to `/dashboard` to see the ``.
They should look something like this👇
## Implement logout functionality
You can use `@teamhanko/hanko-elements` to easily log users out. Here we will make a logout button component that you can use anywhere.
For this QuickStart we will create a file at `components/LogoutButton.svelte` and insert the code below.
```jsx components/LogoutButton.svelte theme={null}
```
## Customize component styles
You can customize the appearance of `hanko-auth` and `hanko-profile` components using CSS variables and parts. Refer to our [customization guide](/guides/hanko-elements/customize-appearance).
## Securing routes
To secure our routes we should validate the session token at the backend. Please refer to our [backend guides](/quickstarts/backend).
Let's set up a Protected route to do this for us.
Create a new Svelte component at `components/ProtectedRoute.svelte`.
```jsx components/ProtectedRoute.svelte theme={null}
```
Let's import this `ProtectedRoute.svelte` to your `App.svelte` file.\
To use the Protected route wrap your `Dashboard` in the Protected Route;
```jsx App.svelte theme={null}
```
## Getting user and session data
Lets use the Hanko SDK to Get User Data to display on the dashboard.
For the User Information we will use [hanko.getCurrentUser()](https://teamhanko.github.io/hanko/jsdoc/hanko-frontend-sdk/index.html#getting-the-user-object)
Lets update the `dashboard` page to log some of the information from the User And Session.
```jsx pages/DashboardPage.svelte theme={null}
{email}
{id}
```
## Try it yourself
{" "}
}
>
It uses Express.js for the backend, full source code available on our GitHub.