> ## Documentation Index
> Fetch the complete documentation index at: https://docs.hanko.io/llms.txt
> Use this file to discover all available pages before exploring further.
# Integrate Hanko with Solid
> Learn how to quickly add authentication and user profile in your Solid app using Hanko.
**Hanko Frontend Integration Guide**:
**About Hanko**:
Hanko is a modern open source authentication solution and the fastest way you integrate passkeys, 2FA, SSO, and more—with full control over your data. Move between self-hosted and Hanko Cloud anytime. No lock-in. Just Auth how it should be: secure, user friendly, and fully yours.
**What This Guide Covers**: This guide demonstrates how to integrate Hanko authentication into your frontend application. You'll implement user authentication, profile management, route protection, and logout functionality with Hanko Elements web components.
**Key Technologies**:
* Modern frontend framework with TypeScript support
* Build tools and development environment
* Client-side routing and navigation
* Hanko Elements web components
* Hanko SDK for authentication logic
**Prerequisites**:
* Node.js installed on your system
* Basic knowledge of your chosen frontend framework
* A Hanko Cloud account (sign up at cloud.hanko.io)
**Integration Tasks You'll Complete**:
* Set up your frontend application with the appropriate build tools
* Install and configure Hanko Elements
* Create a Hanko project in the cloud console
* Implement authentication components (HankoAuth, HankoProfile)
* Set up routing and navigation
* Add logout functionality
* Implement protected routes with session validation
* Retrieve and display user data
* Customize component styling and behavior
## Install `@teamhanko/hanko-elements`
Install `hanko-elements` to access the pre-built `hanko-auth` and `hanko-profile` components.
```bash npm theme={null}
npm install @teamhanko/hanko-elements
```
```bash pnpm theme={null}
pnpm add @teamhanko/hanko-elements
```
```bash bun theme={null}
bun add @teamhanko/hanko-elements
```
```bash yarn theme={null}
yarn add @teamhanko/hanko-elements
```
## Add the Hanko API URL
Retrieve the API URL from the [Hanko Console](https://cloud.hanko.io/) and place it in your .env file.
```sh .env theme={null}
VITE_HANKO_API_URL=https://f4****-4802-49ad-8e0b-3d3****ab32.hanko.io
```
If you are self-hosting you need to provide the URL of your running Hanko
backend.
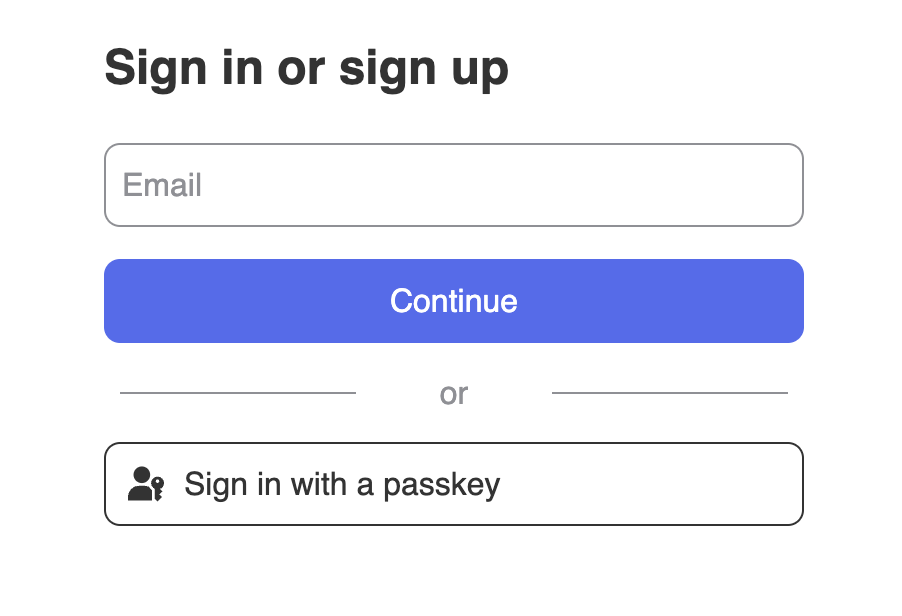
## Add `` component
Add the `` web component to create a login interface. Import the `register` function from `@teamhanko/hanko-elements` and call it with your Hanko API URL to register the component with the browser's [CustomElementRegistry](https://developer.mozilla.org/de/docs/Web/API/CustomElementRegistry).
```tsx components/HankoAuth.tsx theme={null}
import { onMount, createSignal, onCleanup } from "solid-js";
import { register, Hanko } from "@teamhanko/hanko-elements";
import { useNavigate } from "@solidjs/router";
const hankoApi = import.meta.env.VITE_HANKO_API_URL;
export default function HankoAuth() {
const navigate = useNavigate();
const hanko = new Hanko(hankoApi);
const redirectAfterLogin = () => {
navigate("/dashboard");
};
onMount(() => {
hanko.onSessionCreated(() => {
redirectAfterLogin();
});
register(hankoApi).catch((error) => {
// handle error
});
});
onCleanup(() => {
// cleanup logic if needed
});
return ;
}
type GlobalJsx = JSX.IntrinsicElements;
declare module "solid-js" {
namespace JSX {
interface IntrinsicElements {
"hanko-auth": GlobalJsx["hanko-auth"];
}
}
}
```
By now, your sign-up and sign-in features should be working. You should see an interface similar to this 👇
## Add `` component
The `` component provides an interface, where users can manage their email addresses and passkeys.
```tsx components/HankoProfile.tsx theme={null}
import { onMount } from "solid-js";
import { register } from "@teamhanko/hanko-elements";
const hankoApi = import.meta.env.VITE_HANKO_API_URL;
export default function HankoProfile() {
onMount(() => {
register(hankoApi).catch((error) => {
// handle error
});
});
return ;
}
type GlobalJsx = JSX.IntrinsicElements;
declare module "solid-js" {
namespace JSX {
interface IntrinsicElements {
"hanko-profile": GlobalJsx["hanko-profile"];
}
}
}
```
It should look like this 👇
## Implement logout functionality
Create a logout button component using `@teamhanko/hanko-elements` to manage user logouts:
```tsx components/LogoutButton.tsx theme={null}
import { useNavigate } from "@solidjs/router";
import { Hanko } from "@teamhanko/hanko-elements";
const hankoApi = import.meta.env.VITE_HANKO_API_URL;
function LogoutBtn() {
const navigate = useNavigate();
let hanko = new Hanko(hankoApi ?? "");
const logout = async () => {
try {
await hanko.user.logout();
navigate("/auth");
} catch (error) {
console.error("Error during logout:", error);
}
};
return ;
}
export default LogoutBtn;
```
## Customize component styles
You can customize the appearance of `hanko-auth` and `hanko-profile` components using CSS variables and parts. Refer to our [customization guide](/guides/hanko-elements/customize-appearance).
## Authenticate backend requests
To authenticate requests on your backend with Hanko, refer to our [backend guide](/quickstarts/backend).
## Try it yourself
}
>
It uses Express.js for the backend, full source code available on our GitHub.
 ## Add `
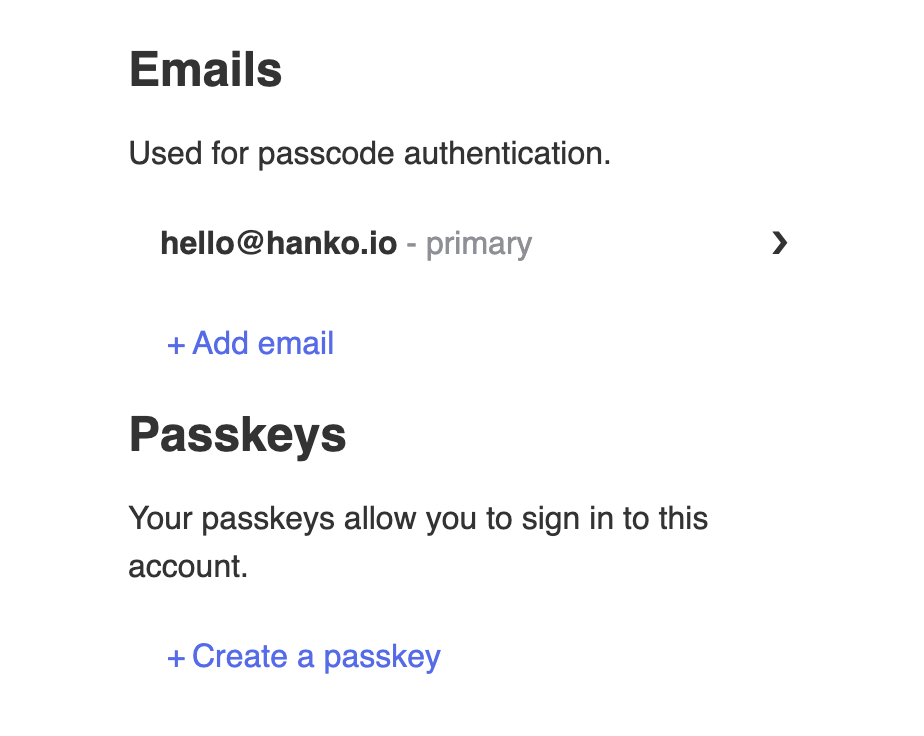 ## Implement logout functionality
Create a logout button component using `@teamhanko/hanko-elements` to manage user logouts:
```tsx components/LogoutButton.tsx theme={null}
import { useNavigate } from "@solidjs/router";
import { Hanko } from "@teamhanko/hanko-elements";
const hankoApi = import.meta.env.VITE_HANKO_API_URL;
function LogoutBtn() {
const navigate = useNavigate();
let hanko = new Hanko(hankoApi ?? "");
const logout = async () => {
try {
await hanko.user.logout();
navigate("/auth");
} catch (error) {
console.error("Error during logout:", error);
}
};
return ;
}
export default LogoutBtn;
```
## Customize component styles
You can customize the appearance of `hanko-auth` and `hanko-profile` components using CSS variables and parts. Refer to our [customization guide](/guides/hanko-elements/customize-appearance).
## Authenticate backend requests
To authenticate requests on your backend with Hanko, refer to our [backend guide](/quickstarts/backend).
## Try it yourself
## Implement logout functionality
Create a logout button component using `@teamhanko/hanko-elements` to manage user logouts:
```tsx components/LogoutButton.tsx theme={null}
import { useNavigate } from "@solidjs/router";
import { Hanko } from "@teamhanko/hanko-elements";
const hankoApi = import.meta.env.VITE_HANKO_API_URL;
function LogoutBtn() {
const navigate = useNavigate();
let hanko = new Hanko(hankoApi ?? "");
const logout = async () => {
try {
await hanko.user.logout();
navigate("/auth");
} catch (error) {
console.error("Error during logout:", error);
}
};
return ;
}
export default LogoutBtn;
```
## Customize component styles
You can customize the appearance of `hanko-auth` and `hanko-profile` components using CSS variables and parts. Refer to our [customization guide](/guides/hanko-elements/customize-appearance).
## Authenticate backend requests
To authenticate requests on your backend with Hanko, refer to our [backend guide](/quickstarts/backend).
## Try it yourself