> ## Documentation Index
> Fetch the complete documentation index at: https://docs.hanko.io/llms.txt
> Use this file to discover all available pages before exploring further.
# Sign in with Google
> Step-by-step guide to integrating Sign in with Google using Hanko. Enable secure authentication and seamless onboarding for your app's users.
**Hanko Google OAuth Integration Guide**:
**About Hanko**:
Hanko is a modern open source authentication solution and the fastest way you integrate passkeys, 2FA, SSO, and more—with full control over your data. Move between self-hosted and Hanko Cloud anytime. No lock-in. Just Auth how it should be: secure, user friendly, and fully yours.
**What This Guide Covers**: This guide demonstrates how to integrate Google OAuth authentication with Hanko, allowing users to sign in using their Google accounts. You'll learn to set up a Google Cloud Console project, configure OAuth consent, and implement Google login in your application.
**Key Technologies**:
* OAuth 2.0 and OpenID Connect protocols
* Google Cloud Console and Google Auth Platform
* JWT (JSON Web Tokens) for secure session management
* Google OAuth 2.0 authorization server
* RESTful API integration
**Prerequisites**:
* Active Hanko Cloud account with a configured project
* Google account for Cloud Console access
* Basic understanding of OAuth 2.0 authentication flow
* Frontend application ready for integration
**Tasks You'll Complete**:
* Create a Google Cloud Console project and configure OAuth consent
* Set up OAuth 2.0 credentials and redirect URLs
* Configure Google OAuth settings in Hanko Console
* Implement Google authentication in your frontend application
* Handle authentication success and error states
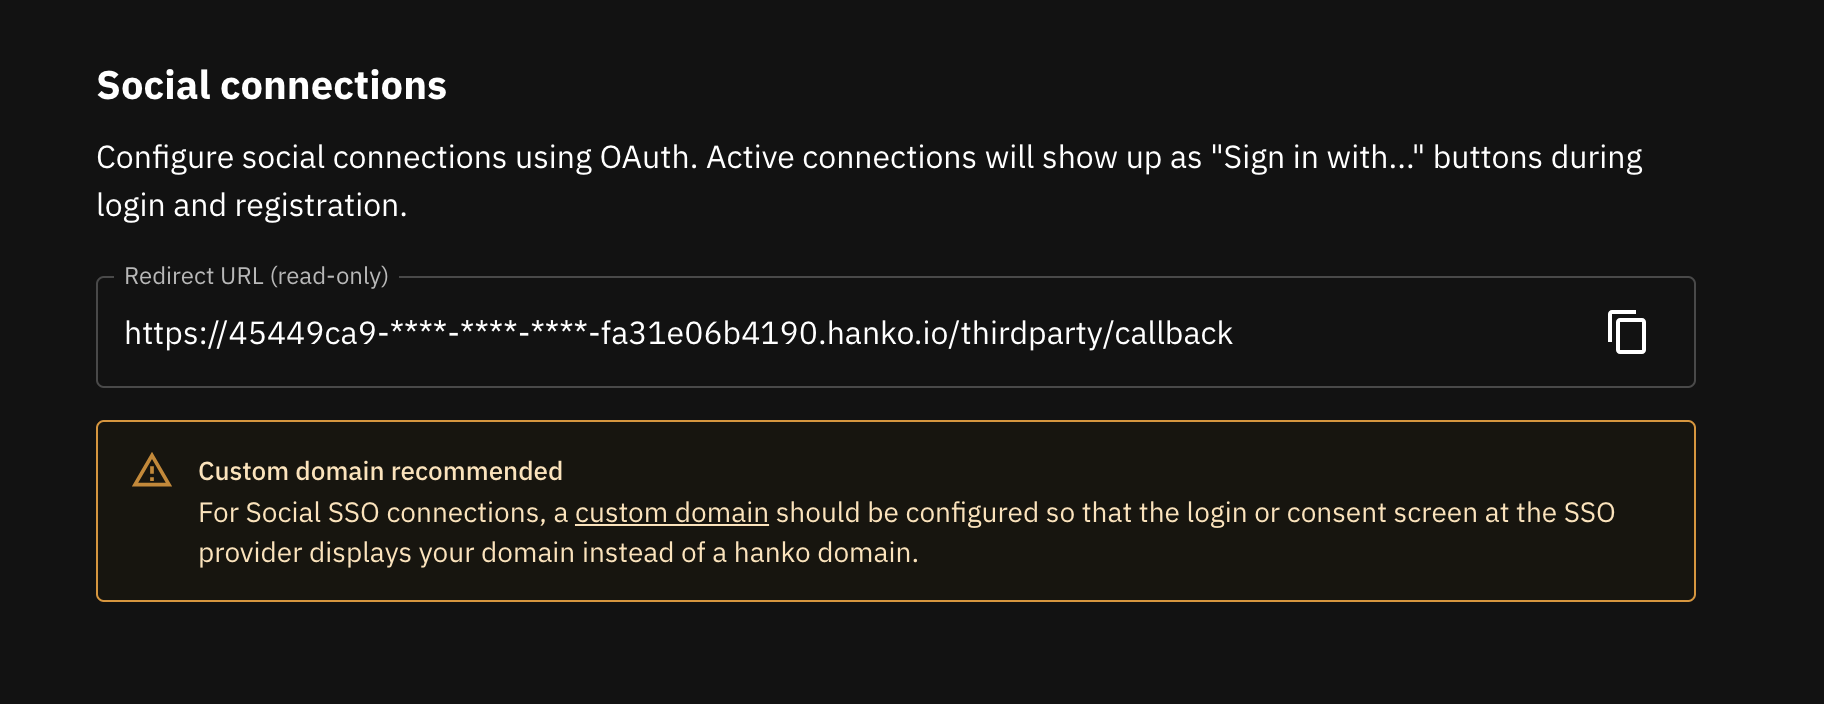
* First, obtain the redirect URL from the [Hanko Console](https://cloud.hanko.io/), as you'll need this for Google configuration.
Sign in to the Hanko console and select your project. Navigate to 'Settings' in the left sidebar and then to 'Social connections'.
Copy the 'Redirect URL'.
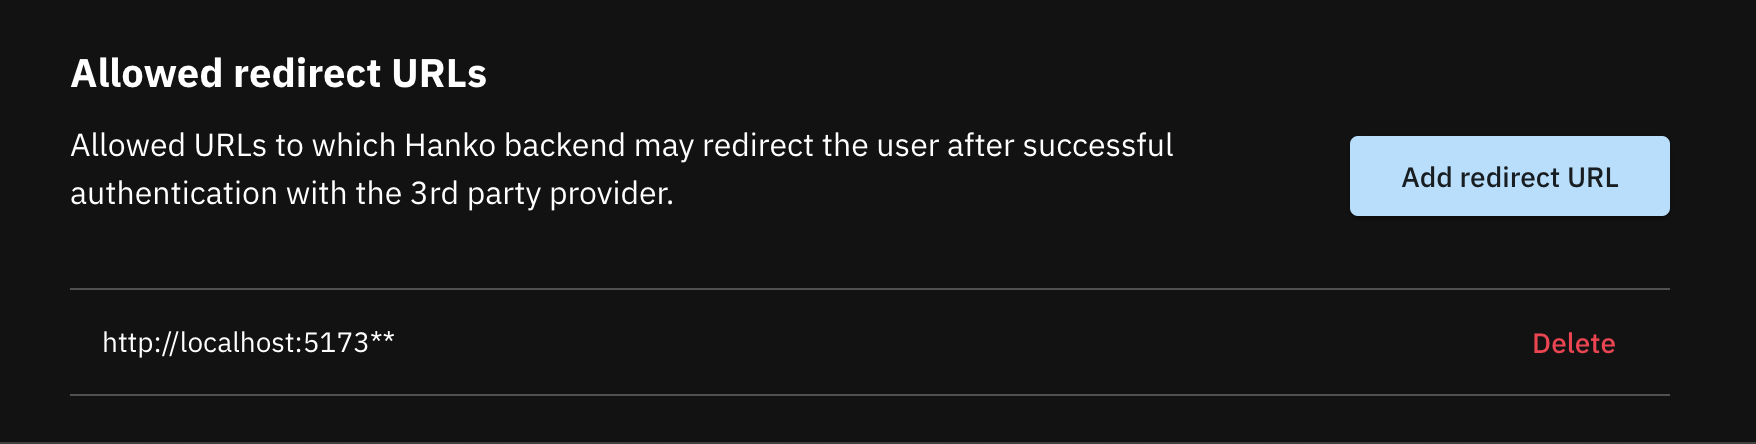
 * Verify that your allowed redirect URL is configured correctly for your application.
Navigate to the 'URLs' tab in the left sidebar.
Ensure that Allowed redirect URLs includes your App URL + '\*\*'.
* Verify that your allowed redirect URL is configured correctly for your application.
Navigate to the 'URLs' tab in the left sidebar.
Ensure that Allowed redirect URLs includes your App URL + '\*\*'.
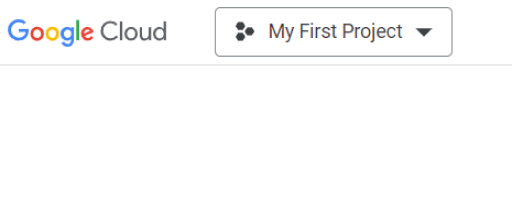
 * Navigate to [Google Cloud Console](https://console.cloud.google.com/), sign in and click on 'Select a project' at the top left.
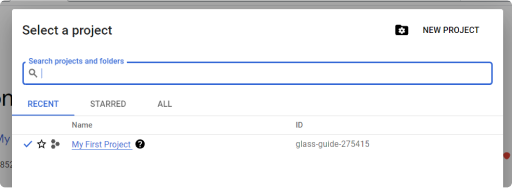
 * Select 'New Project' from the top right of modal.
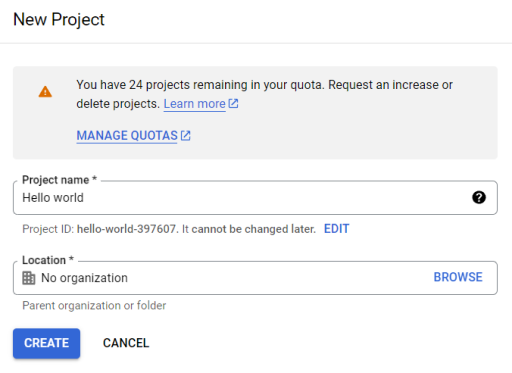
 * Provide a 'Project name', if you want the project to be part of an organization, assign it using the 'Location' input and hit 'Create'
 * Type 'OAuth' in the search bar and choose 'OAuth consent screen' from the results.
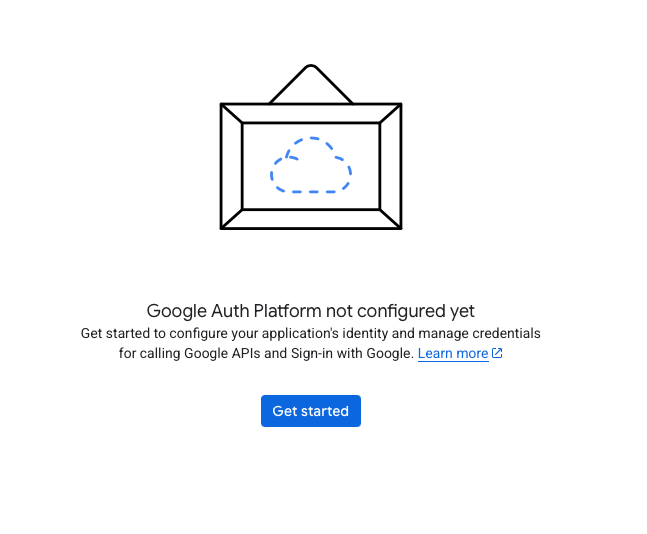
 * Configure your Google Auth Platform by clicking 'Get started' to begin setup.
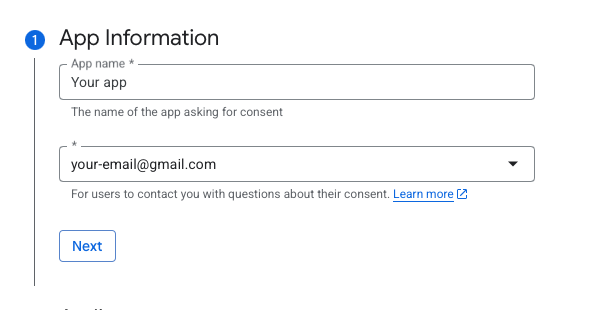
 * Name your app and select a user support Email.
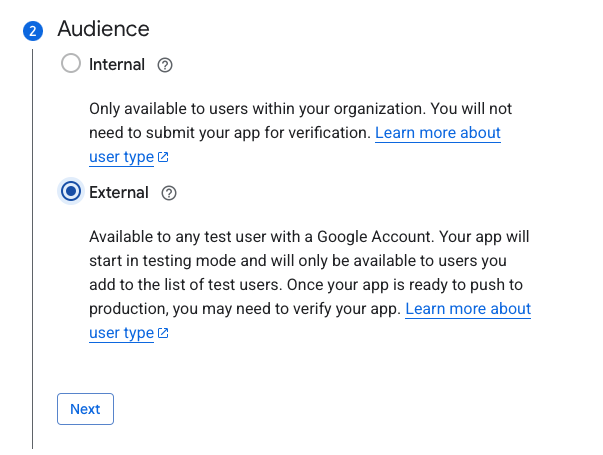
 * Select 'User Type' depending on your requirements
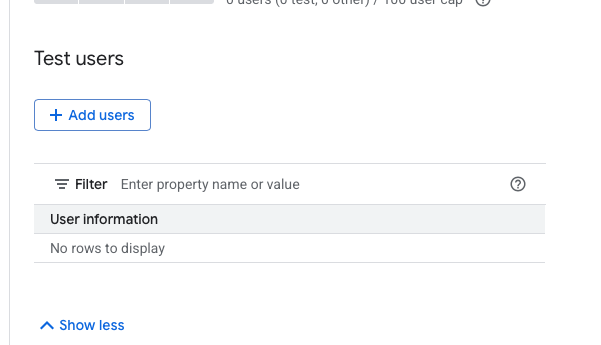
 * Navigate to 'Google Auth Platform' > 'Audience' and publish your app.
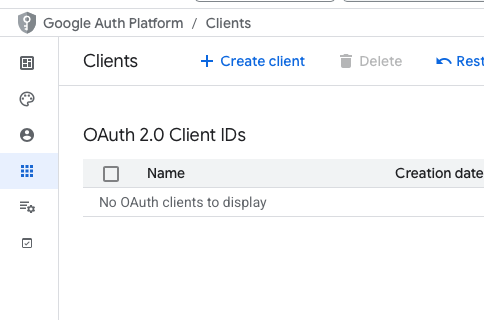
 * Click 'Clients' in the left sidebar, then click 'Create client'.
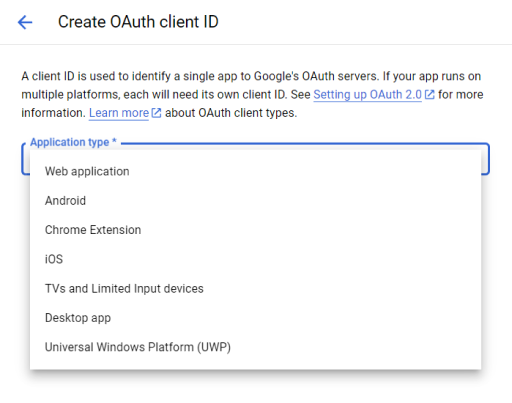
 * Select 'Web application' as the application type.
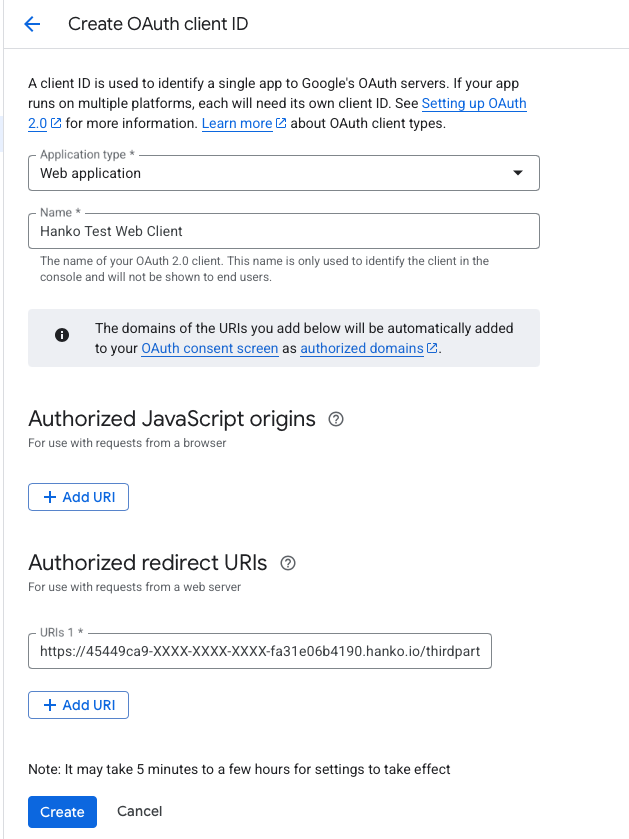
 * Choose a name and paste the Redirect URL (that you obtained from the Hanko console) as an 'Authorized redirect URI'.
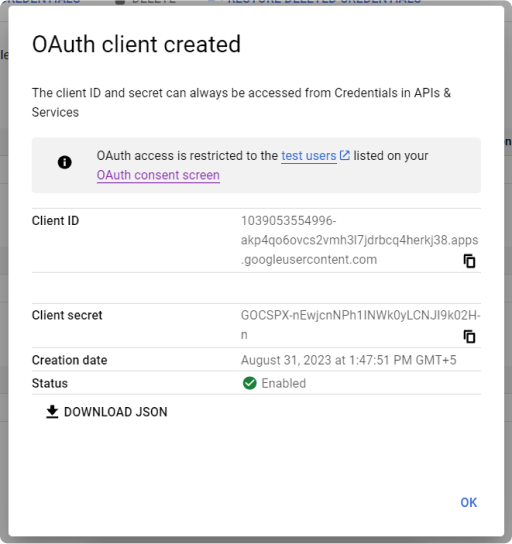
 * The Google console will display information about the OAuth client. Copy and save both the 'Client ID' and 'Client secret', as you'll need these in the next step.
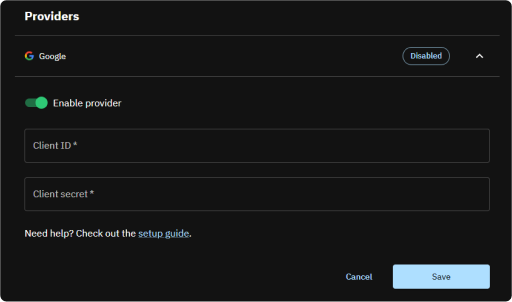
 * In the 'Social connections' section, select Google and enable its toggle switch.
* Input the earlier noted 'Client ID' and 'Client Secret', then click 'Save'.
* In the 'Social connections' section, select Google and enable its toggle switch.
* Input the earlier noted 'Client ID' and 'Client Secret', then click 'Save'.
 Whether you choose to use the pre-designed UI from the `@teamhanko/hanko-elements` package or opt for a custom UI with the `@teamhanko/hanko-frontend-sdk` will determine your approach to frontend integration.
* Integrate the `` component from `hanko-elements` based on our frontend guides. If everything is good, the component will display a button for signing in with 'Google' in login view.
Make sure to configure the page the web component is embedded on as your error redirect URL as well as an allowed redirect URL.
Post successful Google authentication, the backend sets a session cookie and errors during authentication are displayed within the component accordingly.
* For a custom UI, initialize third party sign-in using `@teamhanko/hanko-frontend-sdk`.
* Create Hanko client instance and call `thirdParty.auth` with google as the provider.
```js theme={null}
import { Hanko } from "@teamhanko/hanko-frontend-sdk";
const hanko = new Hanko("");
async function signInWithGoogle() {
try {
await hanko.thirdParty.auth("google", "");
} catch (error) {
// handle error
}
}
```
* On successful authentication, the API redirects you to the given redirect URL. The URL query includes a one time token that must be exchanged for a JWT. Use the `token.validate` method on your client to validate the token:
```js theme={null}
import { Hanko } from "@teamhanko/hanko-frontend-sdk";
const hanko = new Hanko("");
async function onLoad() {
try {
await hanko.token.validate();
} catch (error) {
// handle error
}
// you should now have a JWT cookie set
}
```
On success, the API issues a JWT which is then set by the SDK as a cookie (hanko). All other SDK methods can now use the cookie to make authenticated requests to the API.
Whether you choose to use the pre-designed UI from the `@teamhanko/hanko-elements` package or opt for a custom UI with the `@teamhanko/hanko-frontend-sdk` will determine your approach to frontend integration.
* Integrate the `` component from `hanko-elements` based on our frontend guides. If everything is good, the component will display a button for signing in with 'Google' in login view.
Make sure to configure the page the web component is embedded on as your error redirect URL as well as an allowed redirect URL.
Post successful Google authentication, the backend sets a session cookie and errors during authentication are displayed within the component accordingly.
* For a custom UI, initialize third party sign-in using `@teamhanko/hanko-frontend-sdk`.
* Create Hanko client instance and call `thirdParty.auth` with google as the provider.
```js theme={null}
import { Hanko } from "@teamhanko/hanko-frontend-sdk";
const hanko = new Hanko("");
async function signInWithGoogle() {
try {
await hanko.thirdParty.auth("google", "");
} catch (error) {
// handle error
}
}
```
* On successful authentication, the API redirects you to the given redirect URL. The URL query includes a one time token that must be exchanged for a JWT. Use the `token.validate` method on your client to validate the token:
```js theme={null}
import { Hanko } from "@teamhanko/hanko-frontend-sdk";
const hanko = new Hanko("");
async function onLoad() {
try {
await hanko.token.validate();
} catch (error) {
// handle error
}
// you should now have a JWT cookie set
}
```
On success, the API issues a JWT which is then set by the SDK as a cookie (hanko). All other SDK methods can now use the cookie to make authenticated requests to the API.